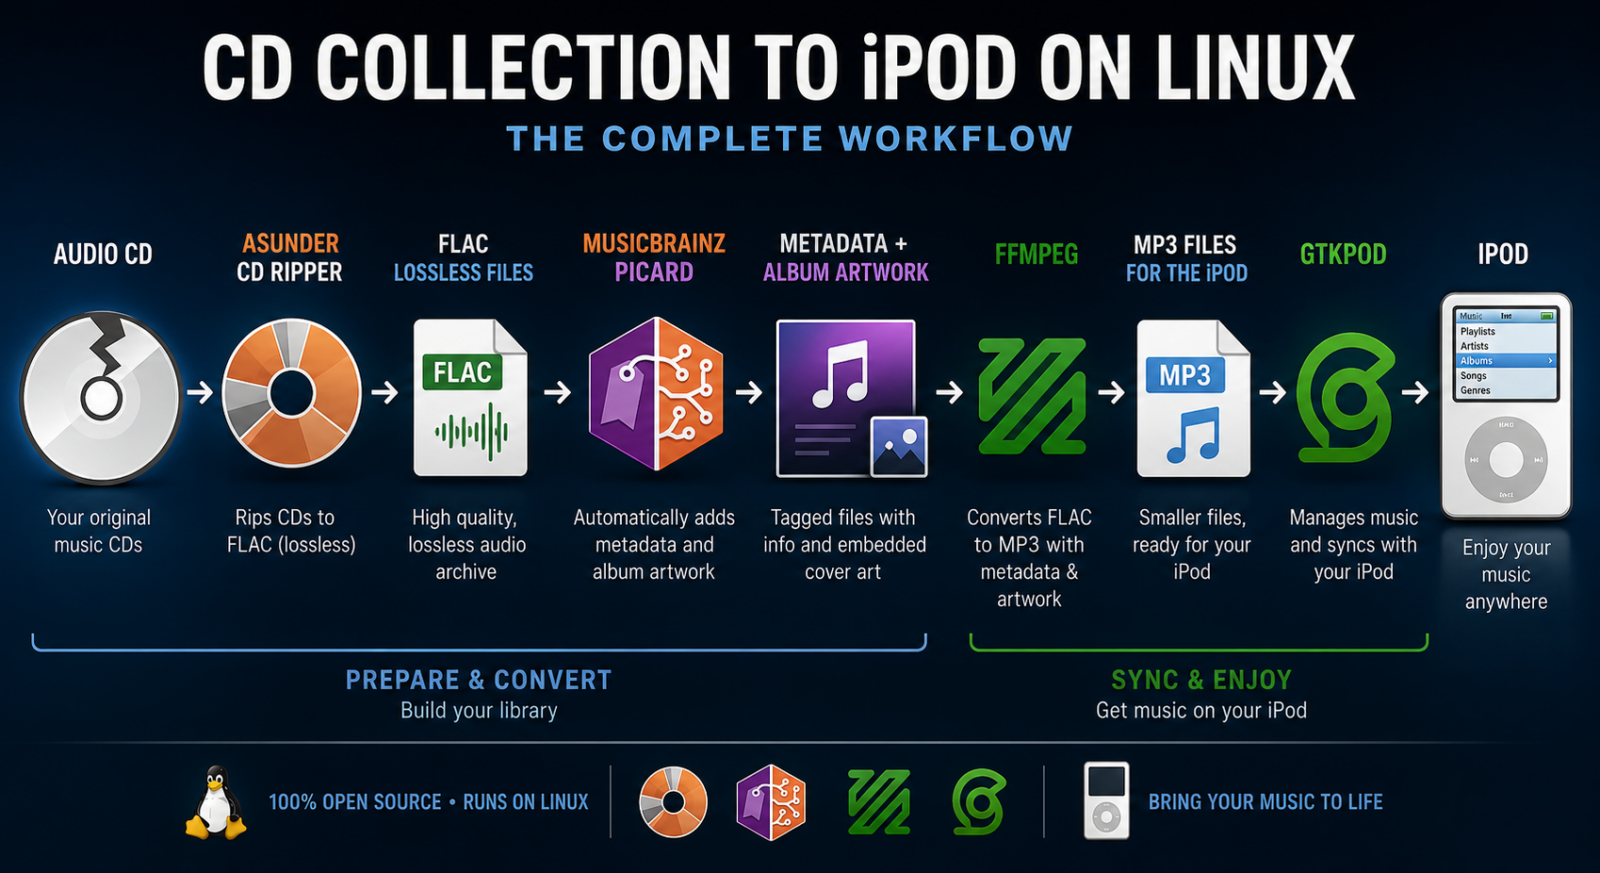
This tutorial describes a complete workflow for transferring a CD collection to an iPod using Xubuntu/Linux:
Audio CD
   ↓
Asunder CD Ripper
   ↓
FLAC lossless files
   ↓
MusicBrainz Picard
   ↓
Metadata + album artwork
   ↓
FFmpeg
   ↓
MP3 files for the iPod
   ↓
gtkpod
   ↓
iPod
The main idea is to keep the original FLAC files as your high-quality music archive and create a separate MP3 library for the iPod.
The tools
Asunder CD Ripper
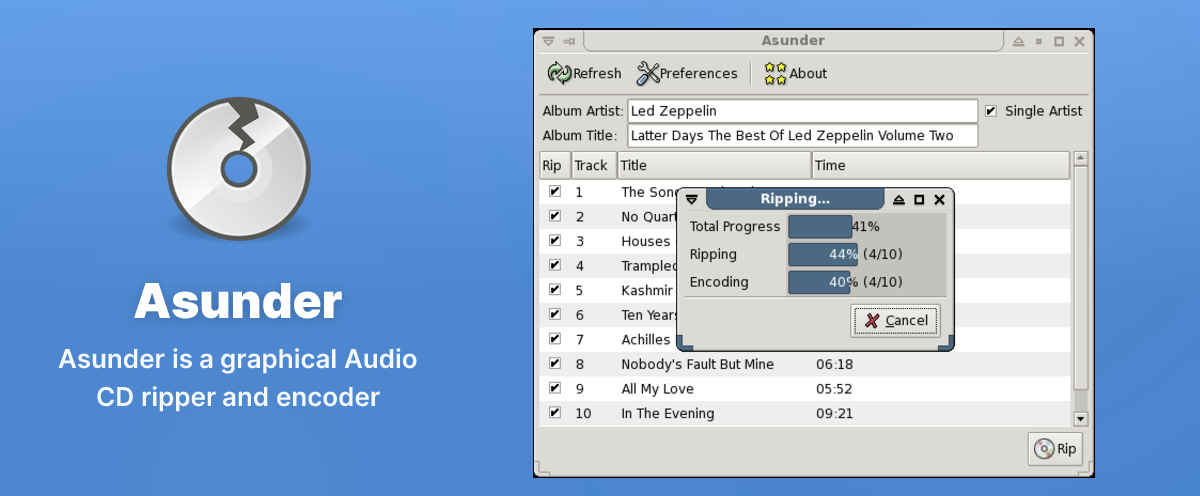
Asunder is used to rip audio CDs. In this workflow, the CDs are ripped to FLAC, a lossless audio format.
Website: http://littlesvr.ca/asunder/
The original files remain available as a high-quality archive.
MusicBrainz Picard
Website: https://picard.musicbrainz.org/
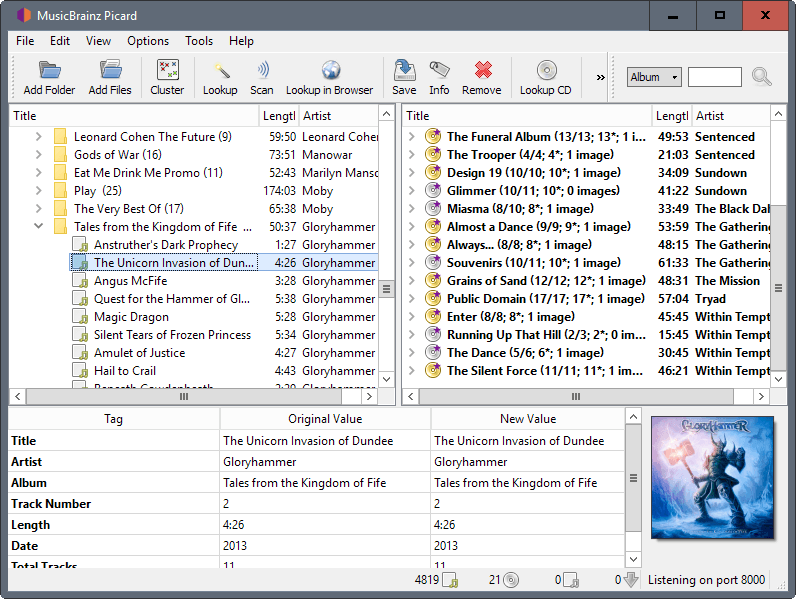
MusicBrainz Picard identifies the music and adds metadata such as:
- Artist
- Album
- Track title
- Track number
- Disc number
- Album artwork
After this step, the FLAC collection is properly tagged and organized.
FFmpeg
Website: https://www.ffmpeg.org/
FFmpeg converts the FLAC files into MP3 files suitable for the iPod.
The conversion script below preserves the metadata and embedded artwork.
gtkpod
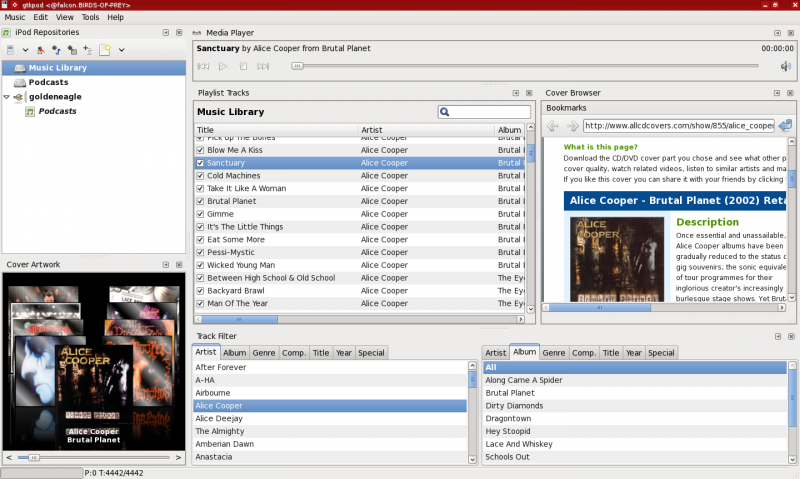
Website: https://github.com/trinitonesounds/gtkpod
gtkpod is used to manage and synchronize music with the iPod from Linux.
1. Organize your FLAC collection
In my case, the original collection is organized like this:
/media/username/Nextcloud/MUSIC CD COLLECTION/
├── Alice In Chains - Alice In Chains/
│   ├── 01 - Alice In Chains - Grind.flac
│   ├── 02 - Alice In Chains - Brush Away.flac
│   └── ...
├── Alice in Chains - Dirt/
│   ├── 01 - Alice in Chains - Them Bones.flac
│   └── ...
└── ...
The conversion script will recreate the same folder structure in the MP3 destination:
/home/username/Music/
├── Alice In Chains - Alice In Chains/
│   ├── 01 - Alice In Chains - Grind.mp3
│   └── ...
├── Alice in Chains - Dirt/
│   ├── 01 - Alice in Chains - Them Bones.mp3
│   └── ...
└── ...
The original FLAC files are never modified.
2. Install FFmpeg
On Xubuntu:
sudo apt update
sudo apt install ffmpeg
Verify the installation:
ffmpeg -version3. Choose the MP3 bitrate
The script uses a configurable bitrate:
BITRATE="256k"Common choices are:
192k  → smaller files
256k  → good balance between quality and size
320k  → highest common MP3 bitrate
For my iPod, I chose 256 kbps as a good balance between quality and storage space.
You can change this value without modifying the rest of the script.
4. Create the conversion script
Create a new file:
nano convert-music.shPaste the following:
#!/usr/bin/env bash

set -u

# ============================================================
# CONFIGURATION
# ============================================================

# Folder containing the original FLAC collection
SOURCE_DIR="/media/username/MUSIC CD COLLECTION"

# Folder where converted MP3 files will be stored
DEST_DIR="/home/username/Music"

# MP3 bitrate
#
# Examples:
#
#   192k = smaller files
#   256k = good balance
#   320k = highest common MP3 bitrate
#
BITRATE="256k"

# Log file
LOG_FILE="$DEST_DIR/convert-music.log"


# ============================================================
# PREPARATION
# ============================================================

mkdir -p "$DEST_DIR"

# Add a header to the log for this execution
{
    echo
    echo "============================================================"
    echo "Conversion started: $(date)"
    echo "Source: $SOURCE_DIR"
    echo "Destination: $DEST_DIR"
    echo "Bitrate: $BITRATE"
    echo "============================================================"
} >> "$LOG_FILE"


# ============================================================
# COUNTERS
# ============================================================

converted=0
skipped=0
failed=0


# ============================================================
# CONVERSION
# ============================================================

while IFS= read -r -d '' input_file; do

    # Get the path relative to SOURCE_DIR
    relative_path="${input_file#"$SOURCE_DIR"/}"

    # Replace .flac with .mp3
    output_file="$DEST_DIR/${relative_path%.*}.mp3"

    # Create the destination directory
    mkdir -p "$(dirname "$output_file")"

    # Skip files that already exist
    if [[ -f "$output_file" ]]; then

        echo "SKIPPED: $output_file"
        echo "SKIPPED: $output_file" >> "$LOG_FILE"

        ((skipped++))

        continue
    fi

    echo
    echo "Converting:"
    echo "  $input_file"
    echo "→ $output_file"

    echo "CONVERTING: $input_file" >> "$LOG_FILE"

    if ffmpeg -nostdin -y \
        -i "$input_file" \
        -map 0:a:0 \
        -map 0:v:0? \
        -map_metadata 0 \
        -c:a libmp3lame \
        -b:a "$BITRATE" \
        -ac 2 \
        -ar 44100 \
        -c:v mjpeg \
        -q:v 3 \
        -id3v2_version 3 \
        "$output_file" >> "$LOG_FILE" 2>&1
    then

        echo "SUCCESS: $output_file"
        echo "SUCCESS: $output_file" >> "$LOG_FILE"

        ((converted++))

    else

        echo "FAILED: $input_file"
        echo "FAILED: $input_file" >> "$LOG_FILE"

        # Remove an incomplete output file, if one was created
        rm -f "$output_file"

        ((failed++))

    fi

done < <(
    find "$SOURCE_DIR" \
        -type f \
        -iname "*.flac" \
        -print0
)


# ============================================================
# SUMMARY
# ============================================================

echo
echo "============================================================"
echo "Conversion finished: $(date)"
echo "Converted: $converted"
echo "Skipped:   $skipped"
echo "Failed:    $failed"
echo "Log file:  $LOG_FILE"
echo "============================================================"

{
    echo
    echo "SUMMARY"
    echo "-------"
    echo "Converted: $converted"
    echo "Skipped:   $skipped"
    echo "Failed:    $failed"
    echo "Finished:  $(date)"
    echo
} >> "$LOG_FILE"
5. Make the script executable
Run:
chmod +x convert-music.shThen execute it:
./convert-music.shThe script will recursively find all .flac files and convert them.
6. Running the script again
The script is safe to run repeatedly.
If the MP3 file already exists, it is skipped:
SKIPPED: /home/username/Music/Alice in Chains - Dirt/01 - Alice in Chains - Them Bones.mp3This is useful when adding new albums to the FLAC collection.
For example:
First execution:
    500 songs converted

Later:
    20 new FLAC files added

Second execution:
    500 existing songs skipped
    20 new songs converted
The script does not need to reconvert the entire collection.
If you want to regenerate a particular MP3, simply delete that MP3 and run the script again.
7. The conversion log
The script creates:
/home/username/Music/convert-music.logThe log contains useful information such as:
Conversion started: ...

CONVERTING: /path/to/song.flac
SUCCESS: /path/to/song.mp3

SKIPPED: /path/to/existing-song.mp3

FAILED: /path/to/problematic-song.flac

SUMMARY
-------
Converted: 25
Skipped:   450
Failed:    1
FFmpeg’s output is also written to the log, which makes it possible to investigate conversion problems later.
8. What the FFmpeg options do
The important parts of the command are:
-map 0:a:0Selects the audio stream.
-map 0:v:0?Selects embedded artwork if it exists.
The ? makes the artwork optional, so files without cover art can still be converted.
-map_metadata 0Copies metadata from the original FLAC file.
-c:a libmp3lameUses the LAME MP3 encoder.
-b:a "$BITRATE"Uses the bitrate configured at the top of the script.
-c:v mjpeg
Converts embedded artwork to JPEG.
-id3v2_version 3Uses ID3v2.3 metadata, which is a good compatibility choice for older devices and software.
-nostdinPrevents FFmpeg from reading from the script’s input stream. This is important when processing a list of files with Bash.
9. Synchronize the MP3 files with gtkpod
After the conversion finishes, open gtkpod and add the MP3 files from:
/home/username/MusicThe metadata should be available in the MP3 files, including:
- Artist
- Album
- Track title
- Track number
- Album artwork
gtkpod then updates the iPod’s music database and artwork database.
For older iPods, embedded artwork alone is not always enough. The artwork also needs to be processed by gtkpod/libgpod and added to the iPod’s artwork database.
This is why the final step is important:
FLAC with metadata and artwork
        ↓
FFmpeg conversion
        ↓
MP3 with metadata and artwork
        ↓
gtkpod
        ↓
iPod music and artwork databases
        ↓
Music and album covers on the iPod
Final result
The complete workflow is:
CD
 ↓
Asunder CD Ripper
 ↓
FLAC lossless archive
 ↓
MusicBrainz Picard
 ↓
Metadata + album artwork
 ↓
FFmpeg conversion script
 ↓
MP3 library with configurable bitrate
 ↓
gtkpod
 ↓
iPod
The most important advantage of this approach is that the FLAC files remain your original, lossless collection. The MP3 files are simply a smaller, portable copy generated specifically for the iPod.
If you later decide to use a different bitrate, you can change:
BITRATE="256k"and regenerate the MP3 files you want.