A modern terminal setup can significantly improve your productivity and make your development workflow more enjoyable.
In this tutorial, you’ll learn how to:
- Install Zsh
- Install Oh My Zsh
- Enable the agnoster theme
- Install and configure MesloLGLDZ Nerd Font for proper rendering
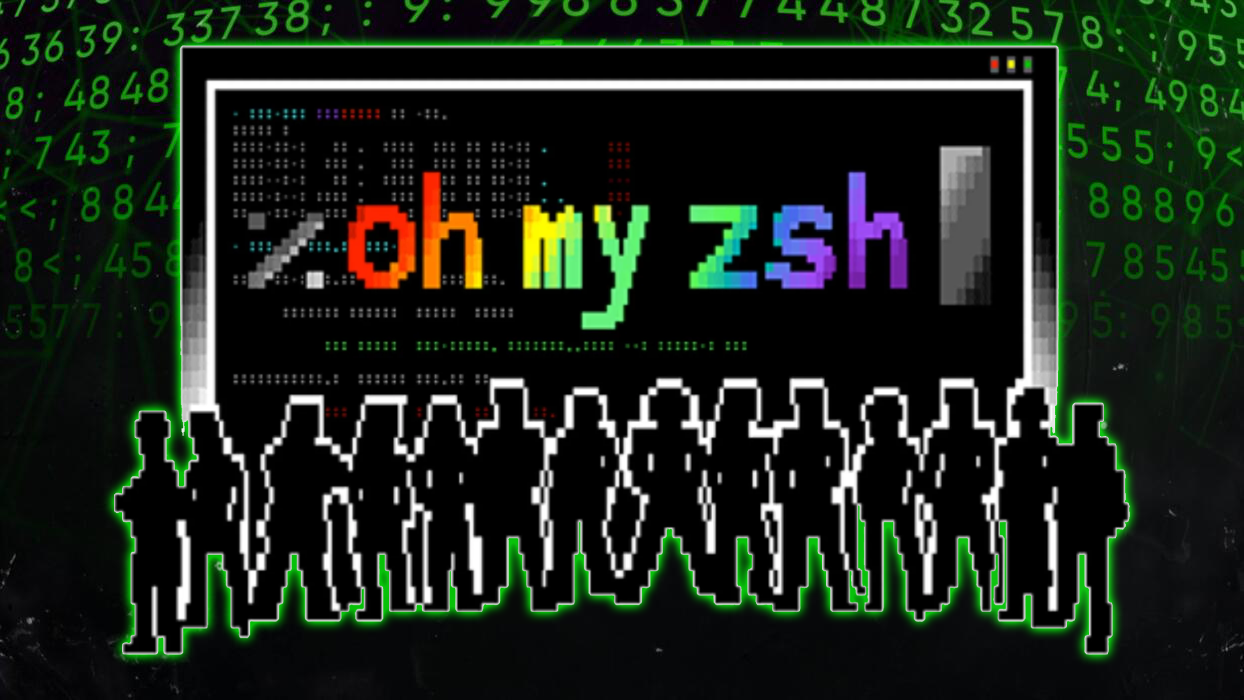
🚀 1. What is Zsh and Oh My Zsh?
Zsh (Z Shell) is a powerful alternative to Bash (the default shell in Ubuntu).
It provides:
- Smarter tab completion
- Better file navigation
- Advanced globbing (**/*.txt)
- Customization options
Oh My Zsh is a framework that enhances Zsh with:
- Themes (like agnoster)
- Plugins (Git, Docker, etc.)
- Preconfigured shortcuts and productivity tools
📦 2. Install Zsh
Update your system and install Zsh:
sudo apt update
sudo apt install zsh -y
Verify installation:
zsh --version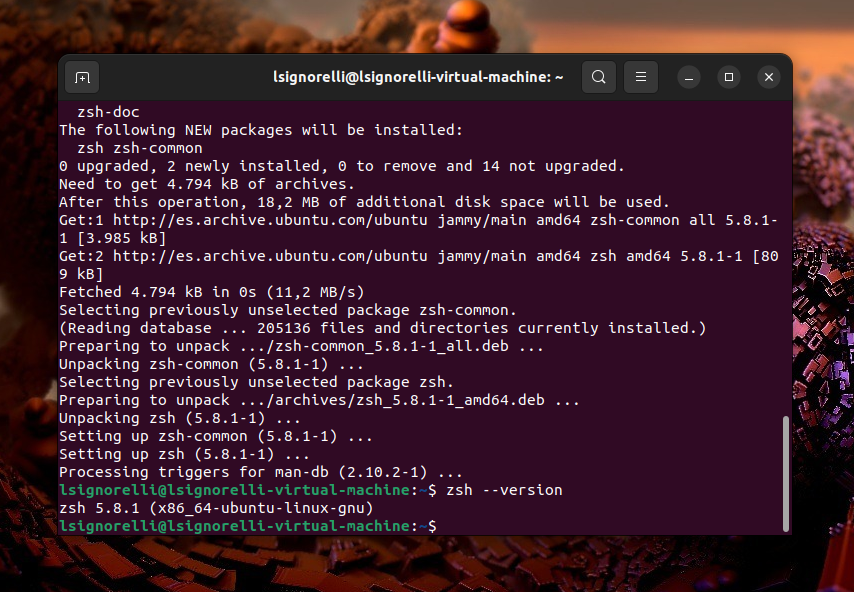
🔄 3. Set Zsh as Default Shell
Run:
chsh -s $(which zsh)Log out and log back in to apply the change.
💡 If you see the zsh-newuser-install screen, press q to skip it. Oh My Zsh will handle configuration automatically.
⚡ 4. Install Oh My Zsh
Install using curl:
sh -c "$(curl -fsSL https://raw.githubusercontent.com/ohmyzsh/ohmyzsh/master/tools/install.sh)"Or using wget:
sh -c "$(wget https://raw.githubusercontent.com/ohmyzsh/ohmyzsh/master/tools/install.sh -O -)"After installation, your terminal will automatically switch to Zsh.
🎨 5. Enable the Agnoster Theme
Open your Zsh config file:
nano ~/.zshrcFind this line:
ZSH_THEME="robbyrussell"Change it to:
ZSH_THEME="agnoster"Save and exit (CTRL + X, then Y, then Enter).
Apply changes:
source ~/.zshrc⚠️ At this point, the theme may look broken — that’s normal!
You need a Nerd Font for proper icons.
🔤 6. Install MesloLGLDZ Nerd Font
The agnoster theme requires a Powerline/Nerd Font to display symbols correctly.
Option A (Recommended – Manual Install)
Download the font from:
👉 https://github.com/romkatv/powerlevel10k-media
Or directly via terminal:
mkdir -p ~/.local/share/fonts
cd ~/.local/share/fonts

wget https://github.com/romkatv/powerlevel10k-media/raw/refs/heads/master/MesloLGS%20NF%20Regular.ttf
Update font cache:
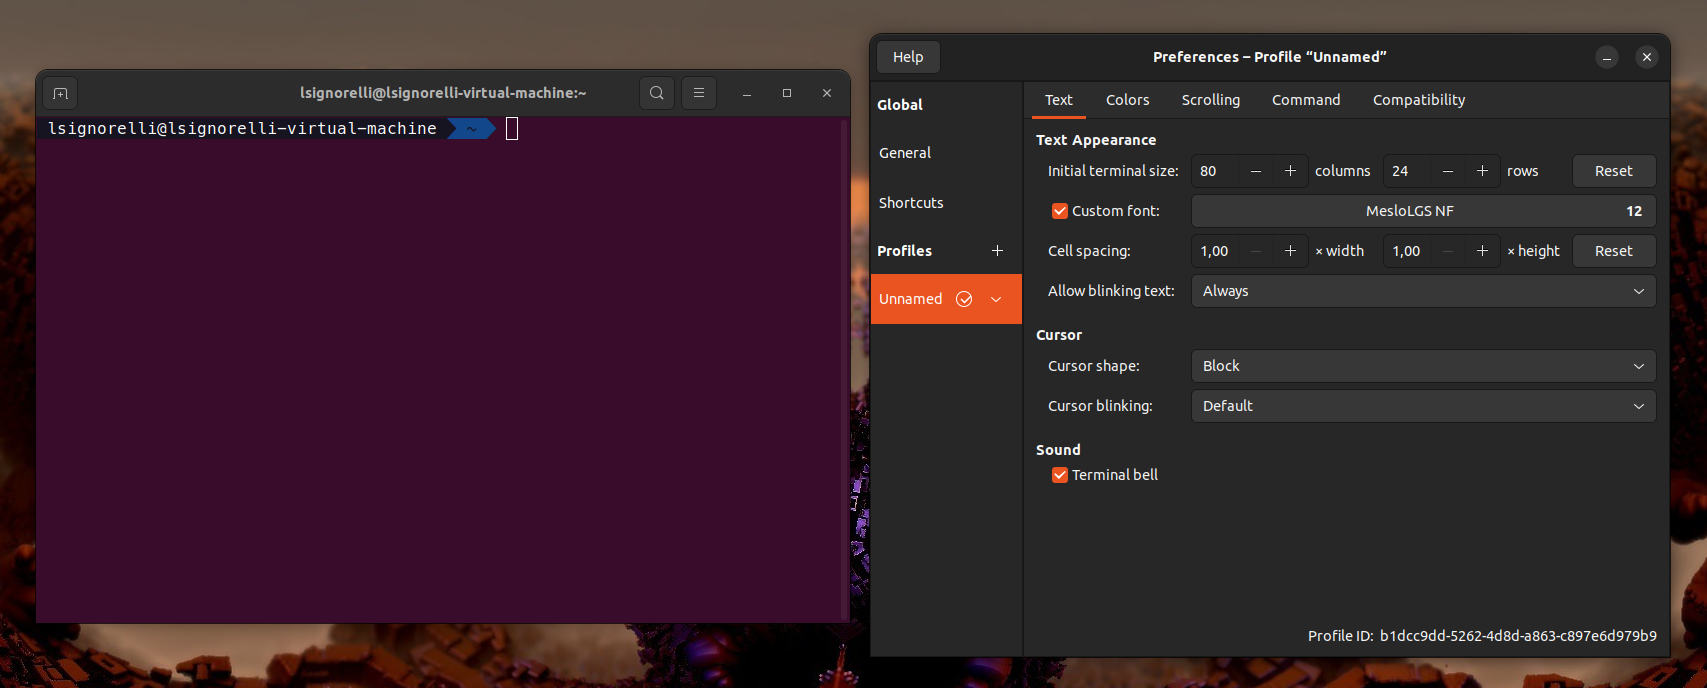
fc-cache -fv🖥️ 7. Configure Terminal Font
Now you must tell your terminal to use the new font.
In Ubuntu Terminal (GNOME Terminal):
- Open Terminal
- Go to Preferences
- Select your profile
- Enable Custom font
- Choose:
👉 MesloLGLDZ Nerd Font
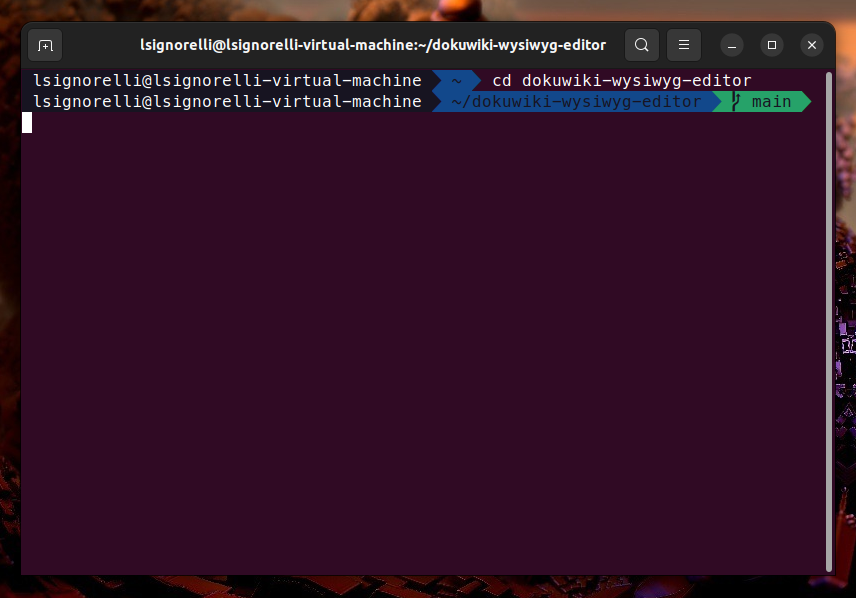
✅ 8. Final Result
Restart your terminal.
You should now see:
- Clean segments
- Git branch indicators
- Powerline-style arrows
- Proper symbols (no weird boxes)
⚙️ 9. (Optional) Enable Useful Plugins
Edit your config:
nano ~/.zshrcFind:
plugins=(git)You can expand it:
plugins=(git ubuntu)Apply:
source ~/.zshrc💡 10. Useful Zsh Features
Navigate without cd
DocumentsRecursive file search
ls **/*.txtSmarter tab completion
Press Tab multiple times to cycle through options.
🎉 Conclusion
You now have a fully customized terminal with:
- Zsh as your default shell
- Oh My Zsh for productivity
- Agnoster theme for a clean UI
- Nerd Font for proper rendering
This setup is widely used by developers and will make your daily terminal usage faster and more enjoyable.