Acquia Cloud Platform offers the most scalable and secure digital experience platform for building, launching, and managing Drupal applications.
Create & Update Experiences Quickly
- Get up and coding in minutes with Cloud IDE
- Development, staging, and production environments with a drag-and-drop user interface
For more information go to the Acquia Cloud Platform product page and find out about all the awesome features: https://www.acquia.com/products/drupal-cloud/cloud-platform
Install Drupal
Go to your dev environment and click the blue “Actions” button located at the top right of the screen and select “Install Drupal”.

On the Install Distribution page, search for the Drupal distribution and click the Install button:
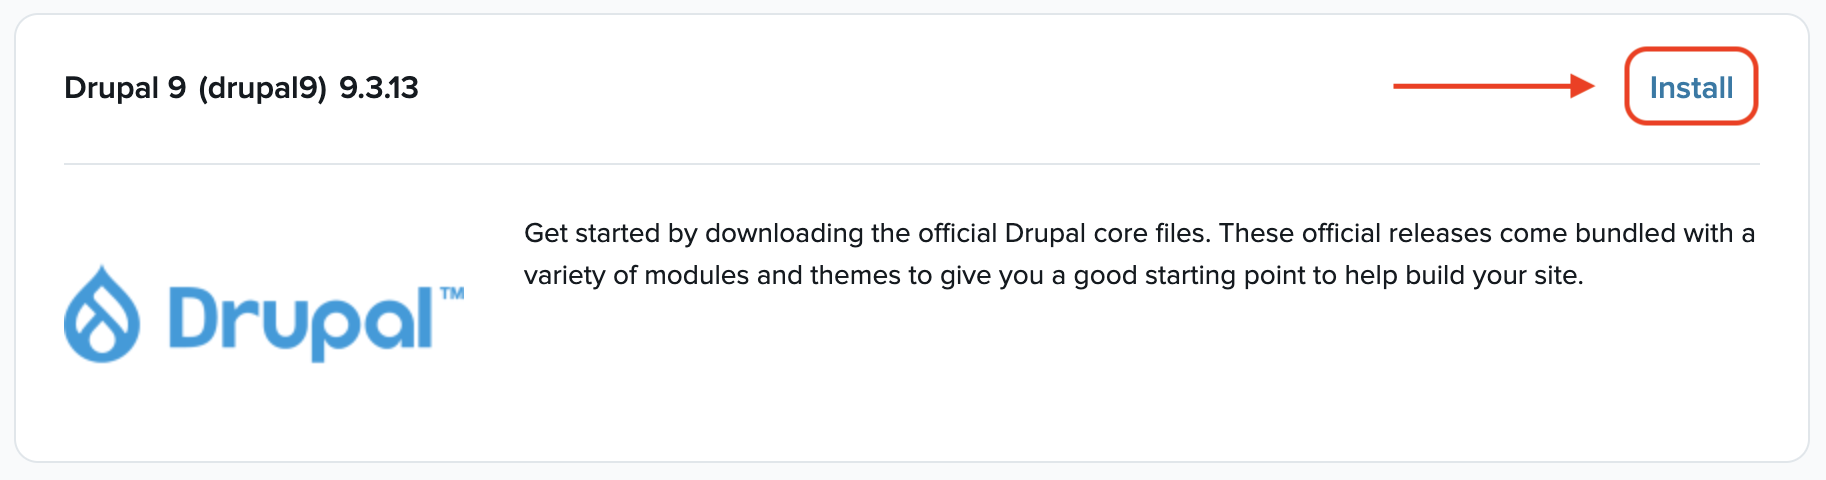
These official Drupal releases come bundled with a variety of modules and themes to give you a good starting point to help build your site.
Click install on the prompt window:

Now it’s a good time to refill your coffee mug while you wait for your new Drupal site to be imported to your dev environment.
When the process is done, it’s time to finish the installation of your new Drupal site. Go to your Drupal site using the assigned URL for your dev environment:

Choose language and click the “Save and continue” button:

Select your desired installation profile and click the “Save and continue” button, for this tutorial I will install the standard profile:

Now the site will take a little while to finish the Drupal installation.

The site configuration section is the last step. Give your site a name, set the site administrator email, create an admin user account with a secure password, select you preferred regional settings and update notification options, and click the “Save and continue” button when ready:

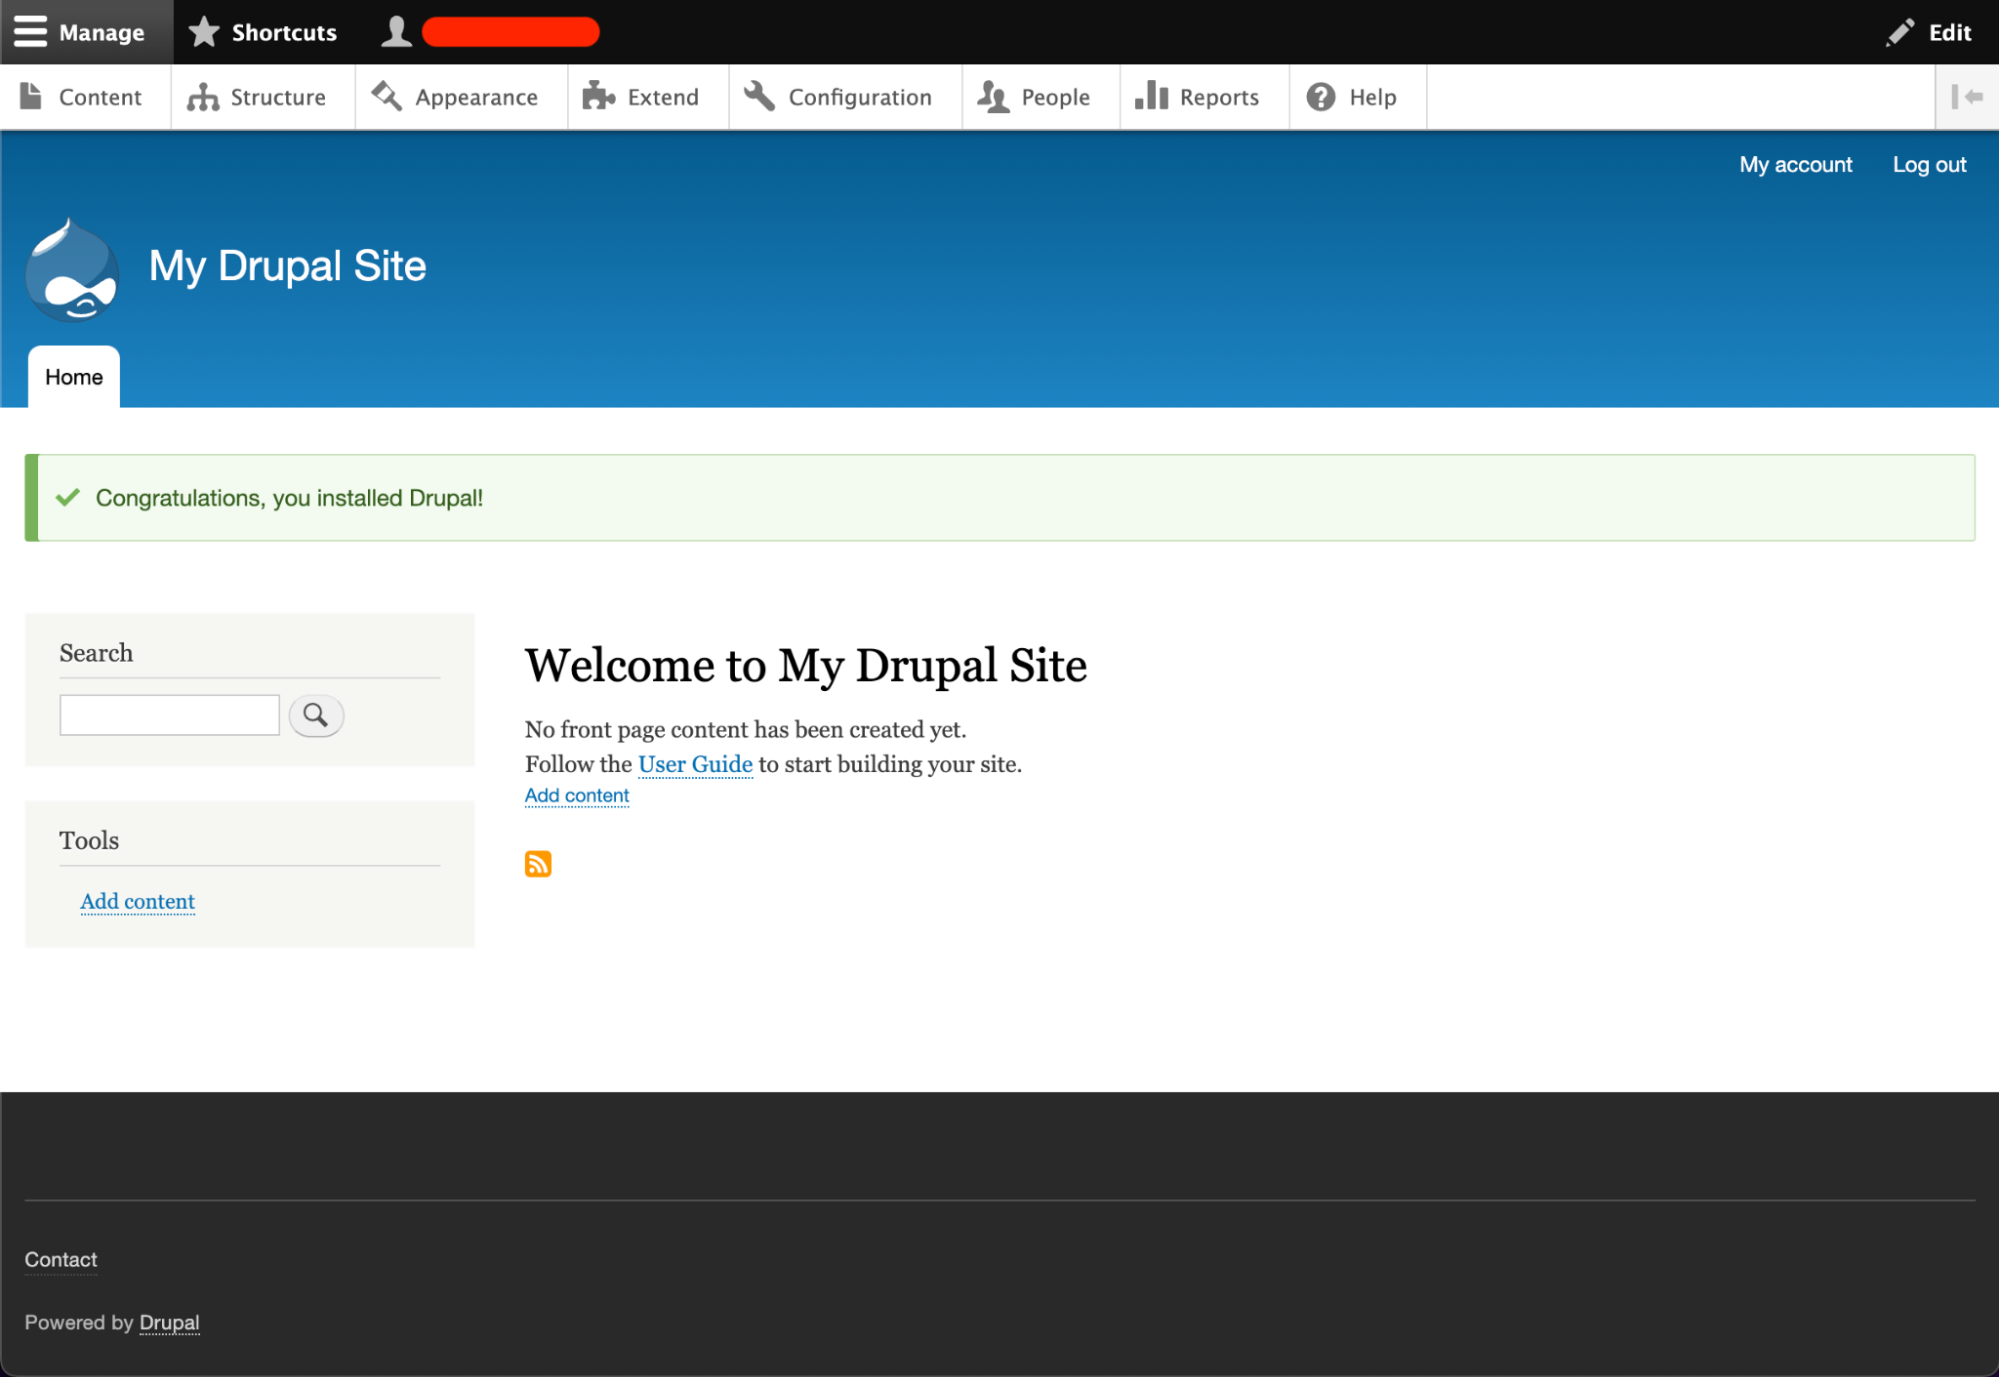
Congratulations, you have successfully installed Drupal!
Add a Homepage, a 404 page and a 403 page
Let start with a simple Homepage, go to the “Content” admin page and click the “Add content” button:

In the “Add content” page, select “Basic page”:

Add a title to you Homepage, some body text, and assign a URL alias (Example: /home). Make sure the “Published” checkbox is checked:

Click the “Save” button when ready.
Create a 404 (not found) page and a 403 (access denied) page, assign a title, body text, and a URL alias to each.
404 page example:

Click the “Save” button when ready.
403 page example:

Click the “Save” button when ready.
Go to the “Configuration” admin page and click the “Basic site settings” link under the “System” section:

Under the “Front page” section, add the URL path that you assigned to the Homepage (/home). Under the “Error pages” section, add the URL paths that you assigned to the 404 and 403 pages to their respective text fields (/403 and /404). Click the “Save configuration” button when ready:

Now you should use your Dev environment URL to check the changes (Example: eelsignorellidev.prod.acquia-sites.com). Go to the homepage of your site, try going to a path that doesn’t exist to see if Drupal shows you the 404 page you assigned in the “Basic site settings”.
Moving the Code from the Dev to the Test Environment
Login to your Acquia Cloud Platform account and go to the Environments page.
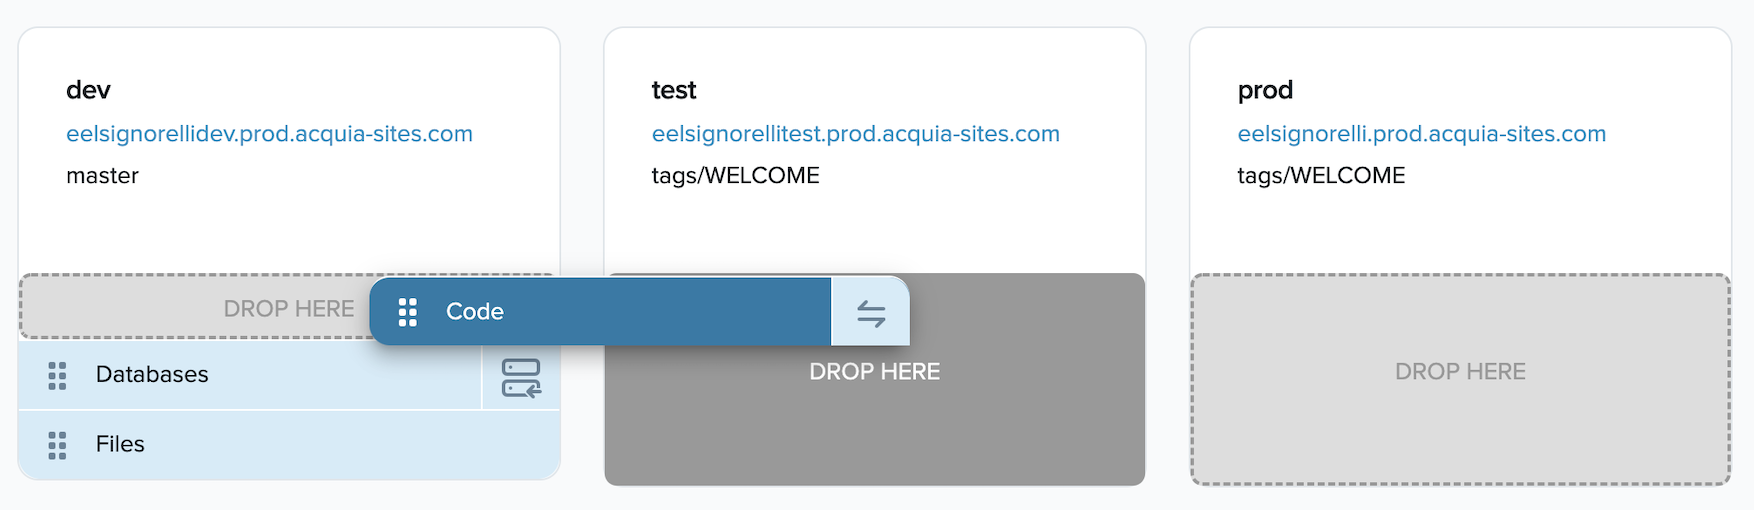
Drag the Code element from the Dev Environment to the Test environment. Cloud Platform creates a new tag for the head version of the branch (the most recently committed code version) and then deploys the tag in the environment you selected.
Optionally, you may add a commit message.
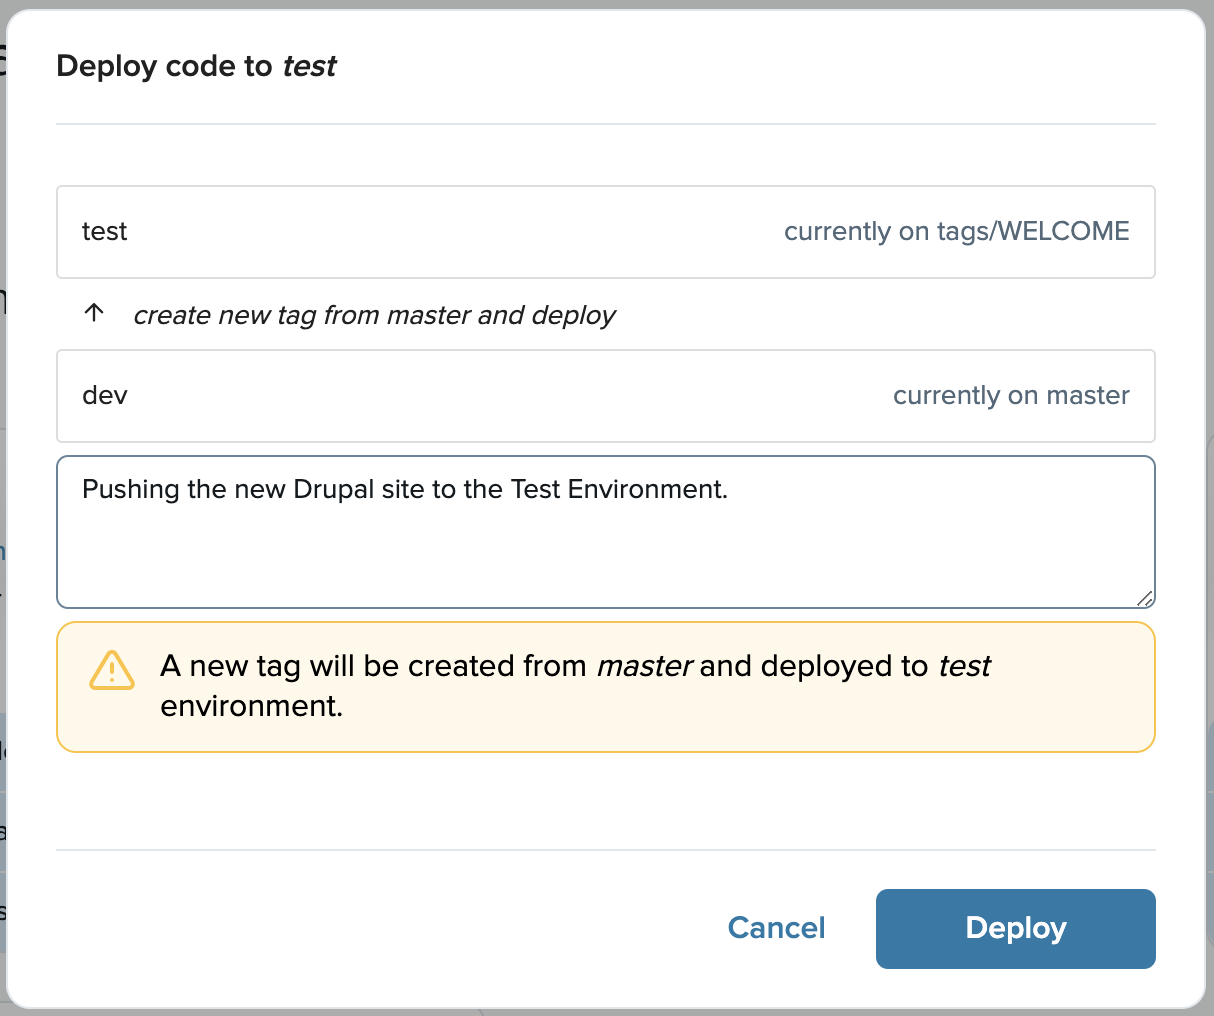
Click Deploy.
When you drag your Dev code container to the Stage environment, Cloud Platform creates a symbolic link between the Staging environment and the head version (the most recently committed code version) of trunk in your Development environment. When you click Deploy, Cloud Platform creates a tag and updates the infrastructure to that version of your code. The default tag format is yyyy-mm-dd.version (for example, tags/2016-09-18). From the example, the next tag you create would be 2016-09-18.0.

More information about moving code from one environment to another can be found here: https://docs.acquia.com/cloud-platform/manage/code/environments/#moving-code-from-one-environment-to-another
Moving the Database from the Dev to the Test Environment
If you try to go to your Drupal site in your Test Environment, you will see the Drupal Installation site, this is because you only have the new code from the Dev environment, but you are missing the database from the Dev environment that includes all the installation settings and site configuration.
Login to your Acquia Cloud Platform account and go to the Environments page.
Drag the Database element from the Dev Environment to the Test environment.

Select the correct Database and click the “Continue” button:

You will get a confirmation prompt with the following warning message: The contents of the DBNAME database will be copied from dev to test. All content of the DBNAME database on test will be overwritten. Click the “Copy” button:

Moving the Files from the Dev to the Test Environment
Login to your Acquia Cloud Platform account and go to the Environments page.
Drag the Files element from the Dev Environment to the Test environment.

You will get a confirmation prompt with the following warning message: All files will be copied from dev to test. All files on test will be overwritten. Click the “Copy” button:

Now you should be able to see your Drupal site in the test environment.
eelsignorellitest.prod.acquia-sites.com
When you are ready to make your Drupal site live, just follow the above steps, but this time move the Code, Database, and Files elements from the Test Environment to the Prod Environment.