Find your Git URL
On your Acquia Cloud Platform Application page, go to any of the environments admin pages (dev, test, prod):
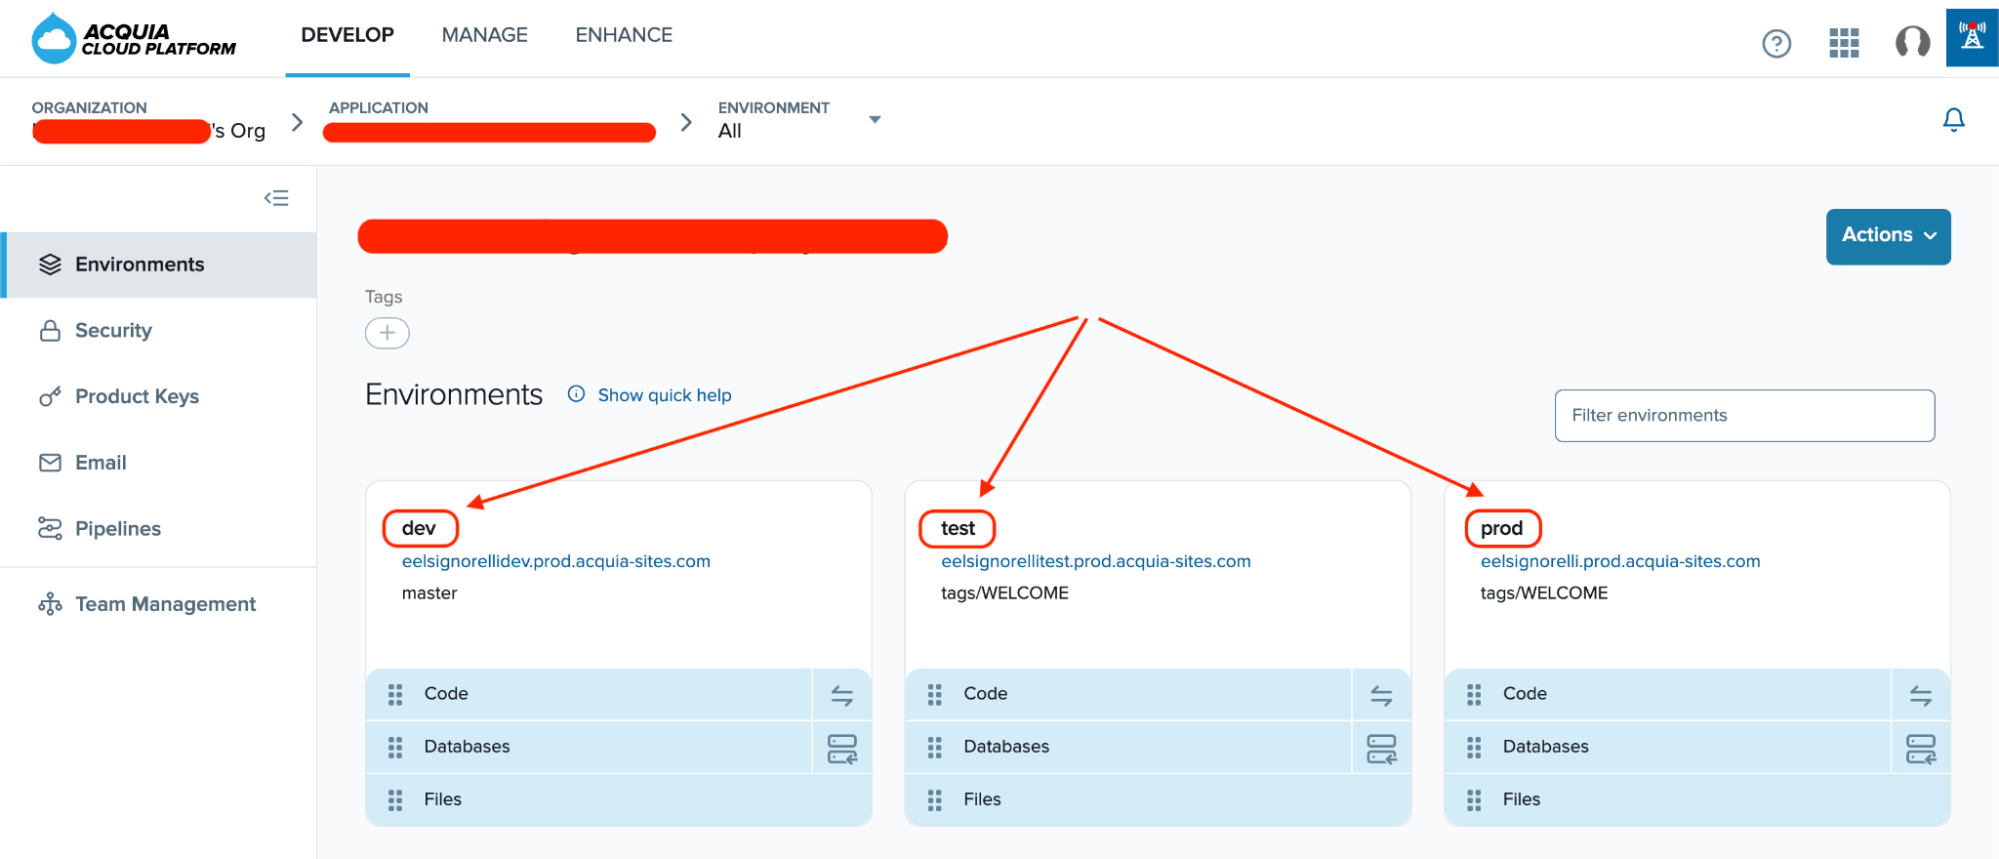
On the selected environment page, you will find your Git URL.

Clone your Git repository
Open a Terminal window and type the following command using your own Git URL.
git clone YOURGITURL@svn-GITURL.prod.hosting.acquia.com:YOURGITURL.git
Understanding the repository directory structure
For each application, Cloud Platform creates a master branch with the following three folders:
- /acquia-utils – Contains the application code and files for your development area. In the initial configuration, Cloud Platform deploys code from this directory to both your production and staging infrastructure.
- /docroot – Stores the development copy of your Drupal codebase, from which Cloud Platform executes on your infrastructure if you select master as the deployment branch.
- /library – Contains the PHP libraries for your application. This directory is in your PHP include path, so you can add PHP extensions here if needed.
More information here: https://docs.acquia.com/cloud-platform/manage/code/
Useful Git Commands
Create a new branch called test-branch:
git branch test-branchList all local branches:
git branchSwitch to the new test-branch:
git checkout test-branchPush to the origin and create a new remote branch:
git push origin test-branchDelete a local branch:
Make sure to checkout master or a different branch than the one you are going to delete:
git checkout master
git branch -d test-branch
Update your branch to the latest changes in master:
git checkout test-branch
git rebase master
Merge a branch into Master
git checkout master
git merge test-branch
Creating Tags
Git supports two types of tags: lightweight and annotated.
A lightweight tag is very much like a branch that doesn’t change, it’s just a pointer to a specific commit.
Annotated tags, however, are stored as full objects in the Git database. They contain the tagger name, email, date, and a tagging message.
Annotated Tags
Creating an annotated tag in Git is simple. The easiest way is to specify -a when you run the tag command:
git tag -a v1.6 -m "Annotated message for my version 1.6"The -m specifies a tagging message, which is stored with the tag. If you don’t specify a message for an annotated tag, Git launches your editor so you can type it in.
You can see the tag data along with the commit that was tagged by using the git show command:
git show v1.6Lightweight Tags
Another way to tag commits is with a lightweight tag. To create a lightweight tag, just provide a tag name:
git tag v1.6-lwThis time, if you run git show on the tag, you don’t see the extra tag information. The command just shows the commit:
git show v1.6-lwSharing Tags
By default, the git push command doesn’t transfer tags to remote servers. You will have to explicitly push tags to a shared server after you have created them. This process is just like sharing remote branches.
git push origin v1.6If you have a lot of tags that you want to push up at once, you can also use the –tags option to the git push command. This will transfer all of your tags to the remote server that are not already there.
git push origin --tagsUseful Resources
https://git-scm.com/book/en/v2/Git-Basics-Tagging
https://docs.acquia.com/cloud-platform/develop/repository/git/