In collaboration with Acquia, the Lando team has built an open source Acquia plugin for Lando.
The plugin:
- Mimics Cloud Platform environments locally.
- Allows you to easily pull your Acquia site to local systems through Acquia CLI.
- Allows you to easily push your changes to Acquia through Acquia CLI.
- Installs drush, acli, and other power tools.
Adding your SSH key to your account
Generate your SSH key on your local machine. Acquia policy is that you should not create a key pair with an empty passphrase. Open your terminal and type the following:
ssh-keygen -b 4096Generating public/private rsa key pair.
Enter file in which to save the key (~/.ssh/id_rsa): <leave empty>
Enter passphrase (empty for no passphrase): <This password should be secure>
Enter same passphrase again: <password you entered above>
Your identification has been saved in ~/.ssh/id_rsa.
Your public key has been saved in ~/.ssh/id_rsa.pub.
Make sure that you save the private (~/.ssh/id_rsa) and public (~/.ssh/id_rsa.pub) keys in a password manager (such as LastPass) in case you need to retrieve these in the future!
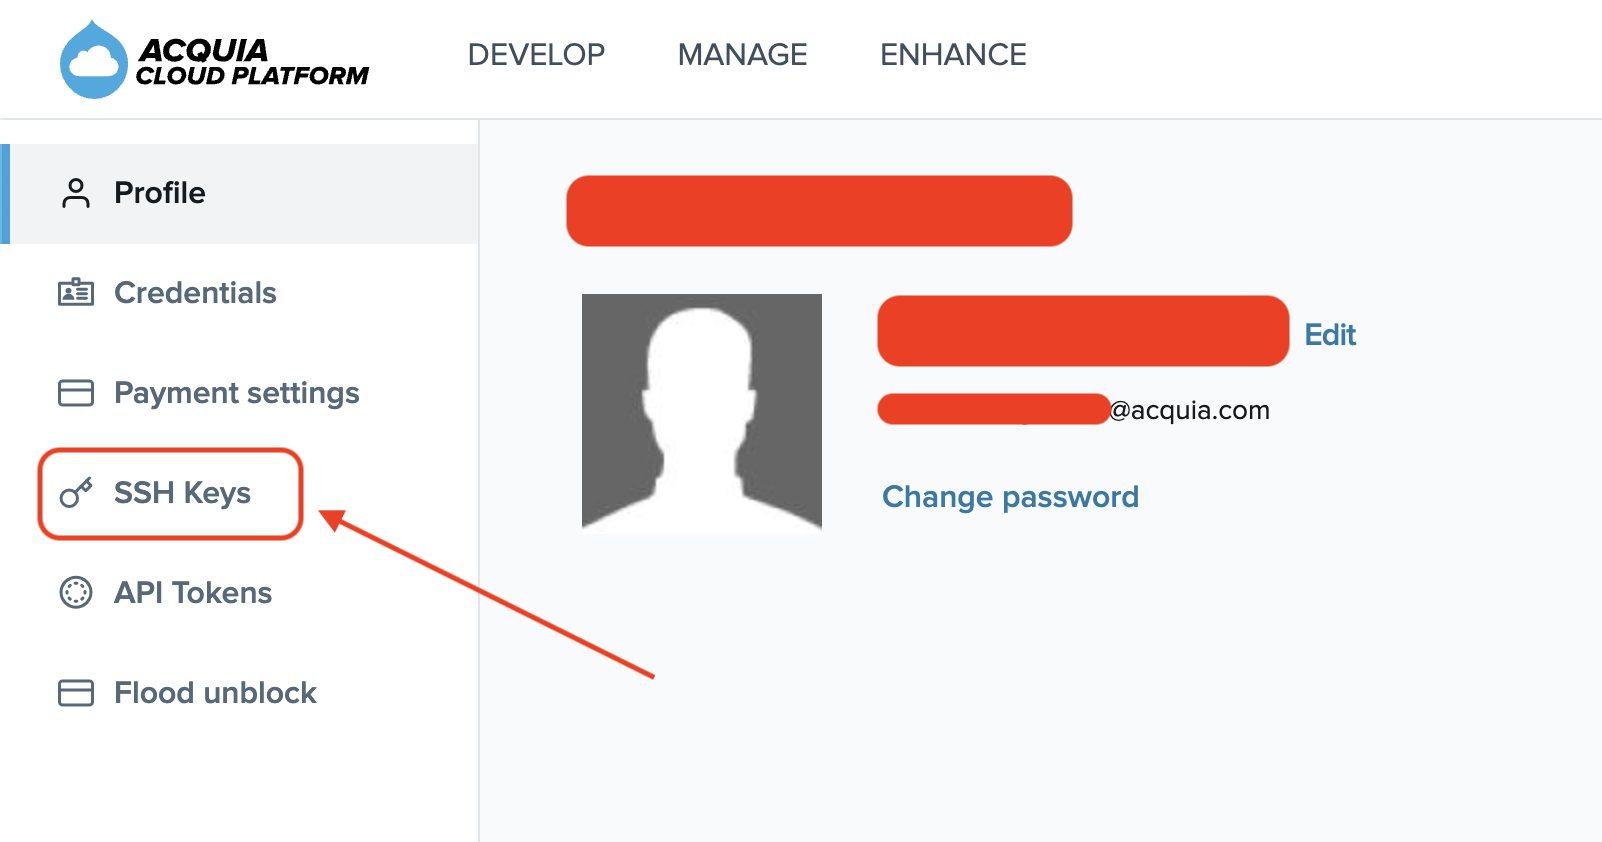
Login to your Acquia Cloud Platform account and click the user icon located on the upper right of the screen and then click the “Account Setting” link:

On the new screen, click the “SSH Keys” located on the left menu.
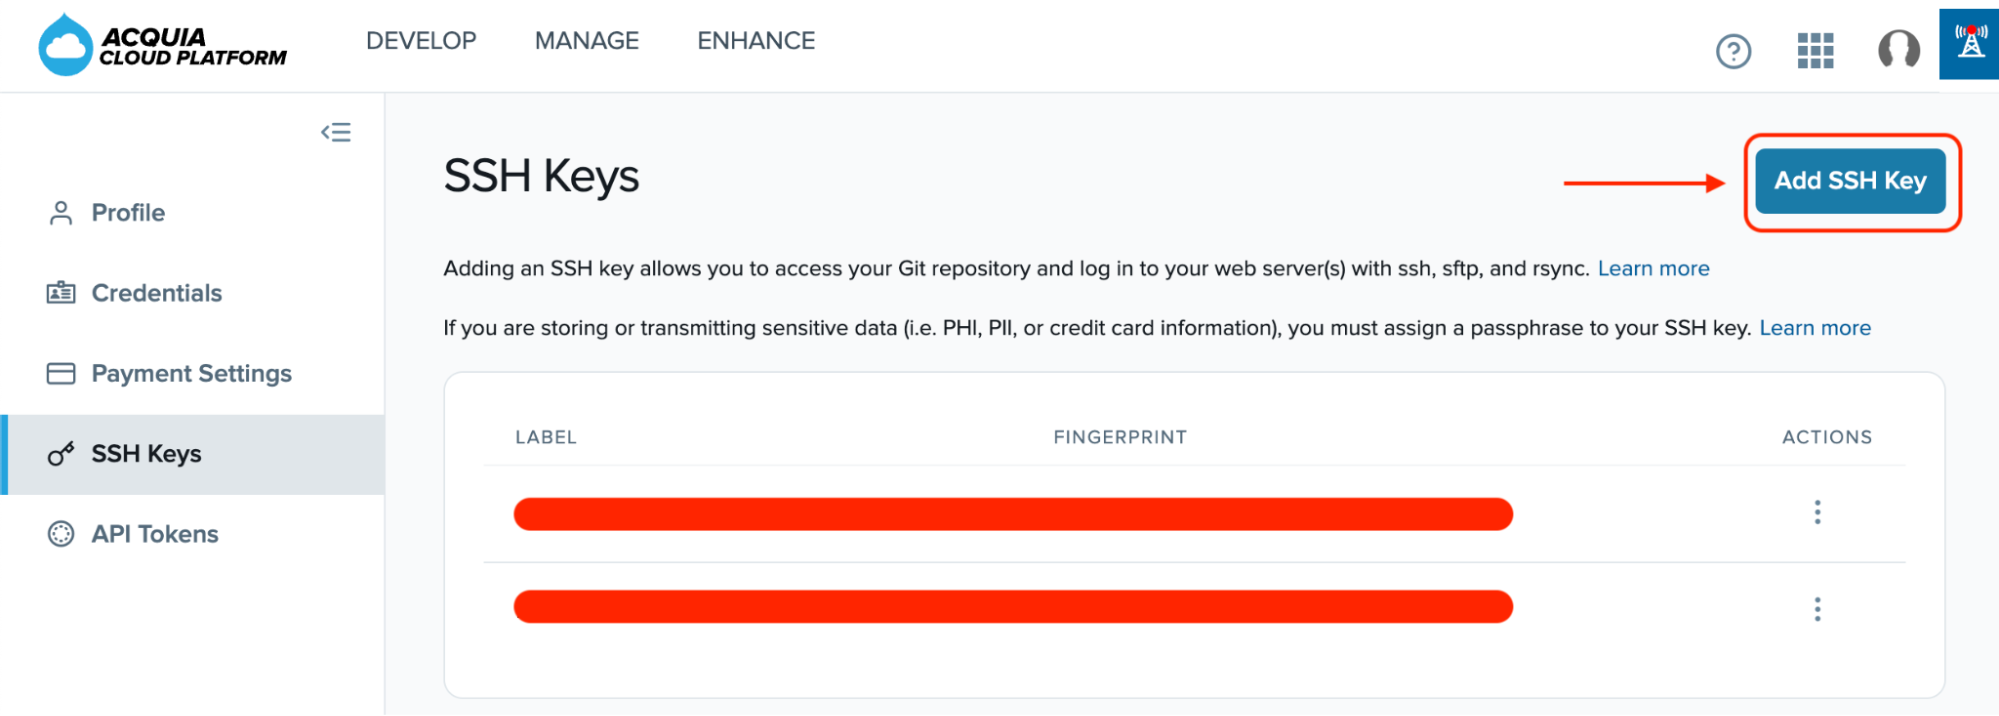
On the “SSH Keys” screen, click the “Add SSH Key” button located on the top right of the screen.
Give your SSH key an identifiable name in the “SSH Key Name” text field and add your public key in the “Public Key” text area.
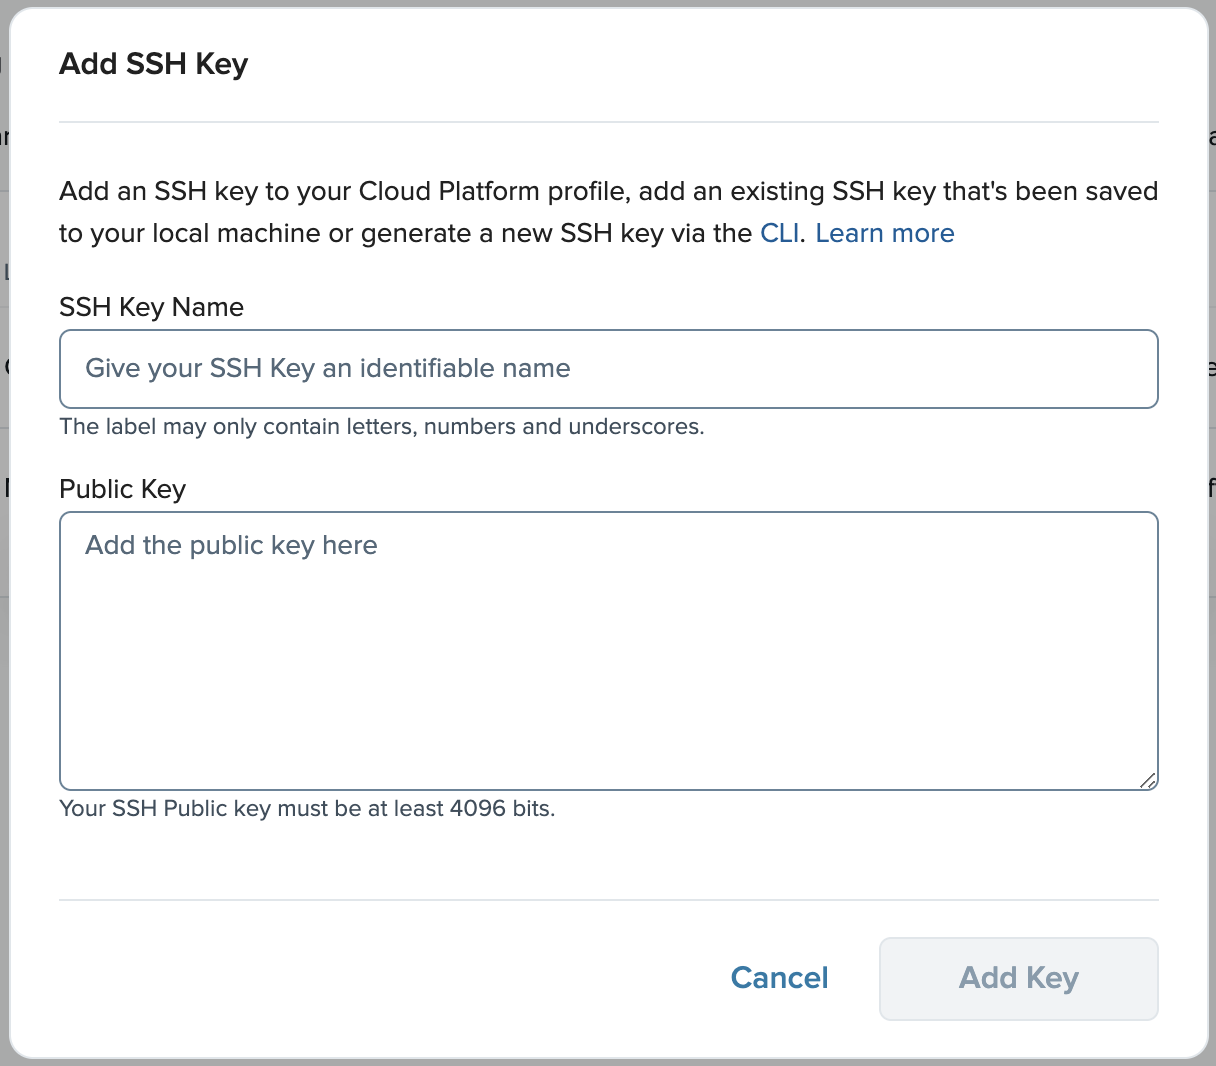
Click the “Add Key” button when ready.
Generating an API token
To generate an API token for authenticating with the Cloud Platform API v2:
- Sign in to the Cloud Platform user interface using your email address and Acquia password.
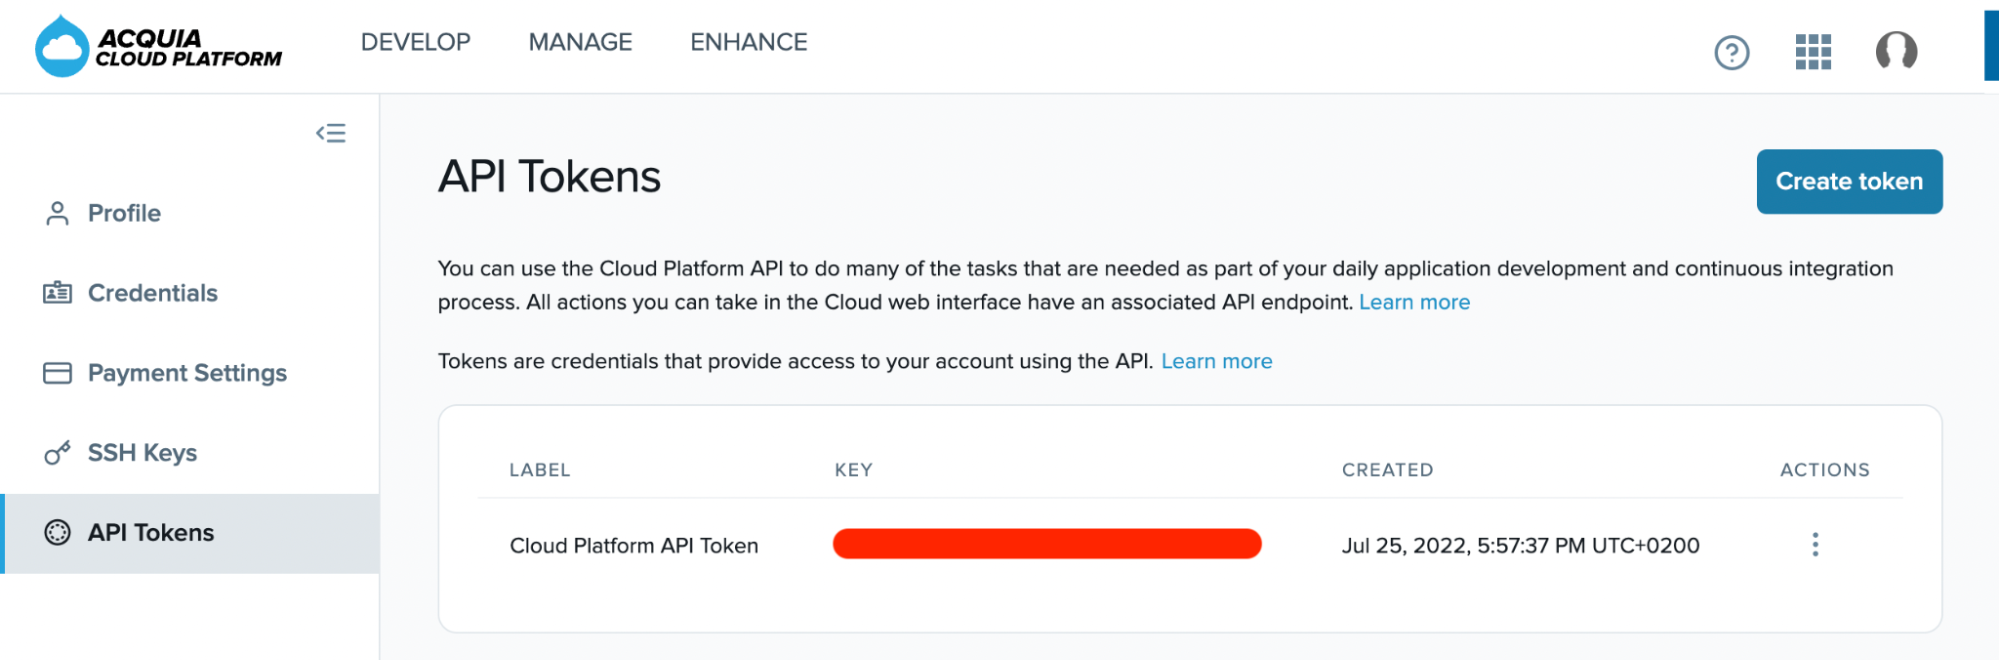
- Click your user avatar in the upper right corner, and then click “Account Settings”.

- On the Profile page, click “API Tokens”.
- Provide a human-readable label for your API token, and click “Create Token”.
- Cloud Platform will generate an API Key and API secret for you.
Record a copy of your API Key and API secret, as you can’t retrieve them after closing your browser tab.
Lando Installation
System Requirements:
Lando is designed to work on a wide range of computers. Here are some basic guidelines to ensure your Lando experience is as smooth as possible.
Operating System:
MacOS 10.13 or later
Docker Engine Requirements:
Verify that you meet the requirements needed to run the Docker engine backend.
Note that the macOS Lando installer will install Docker for you.
MacOS must be version 10.15 or newer. That is, Catalina, Big Sur, or Monterey. We recommend upgrading to the latest version of macOS.
Minimum requirements:
You can run Lando using the below but your experience may be less than ideal.
- 2-core x86-compat processor
- 4GB+ RAM
- 25GB+ of available disk space
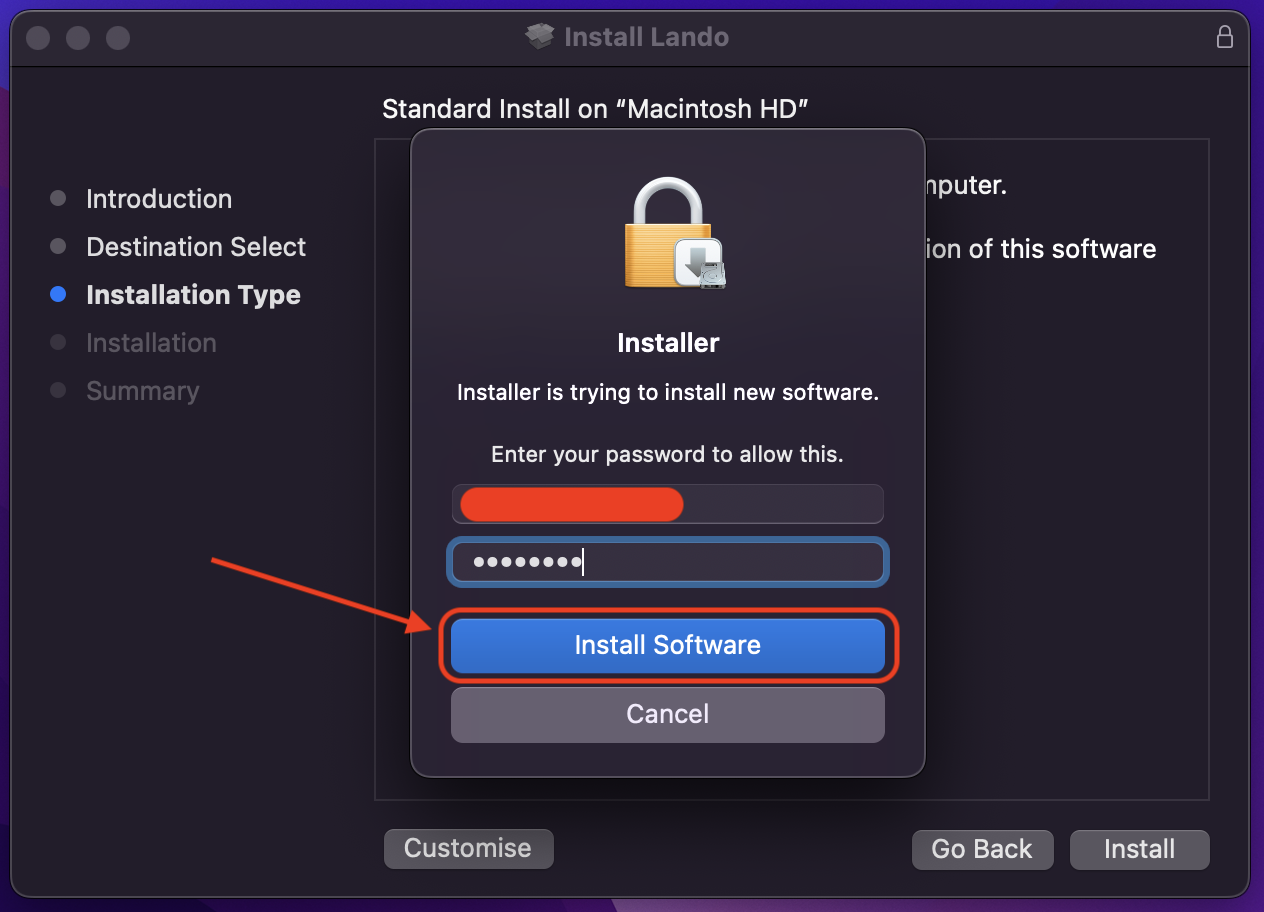
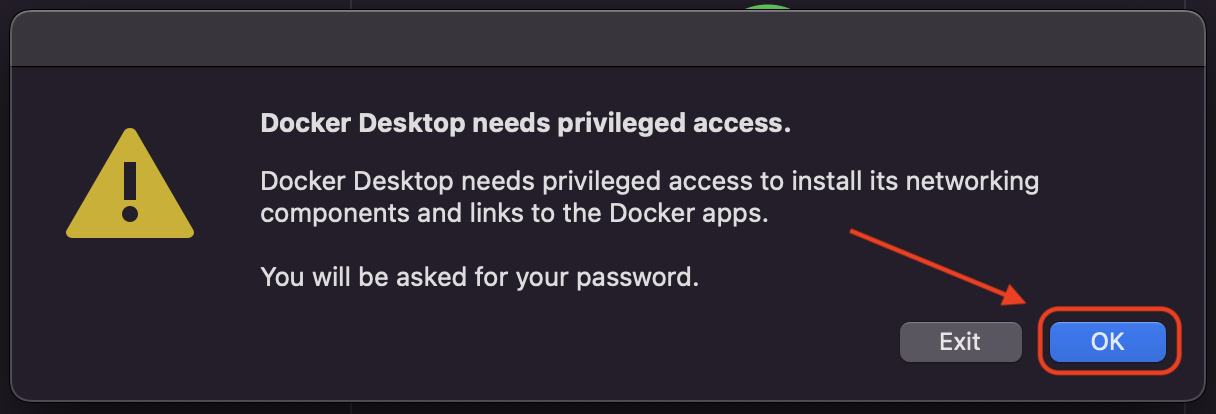
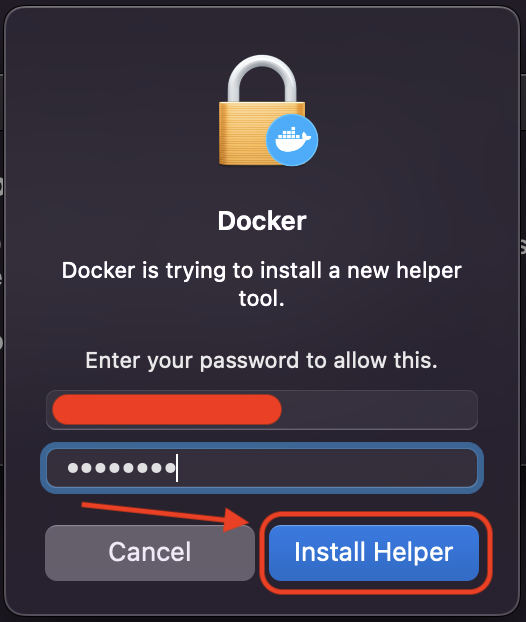
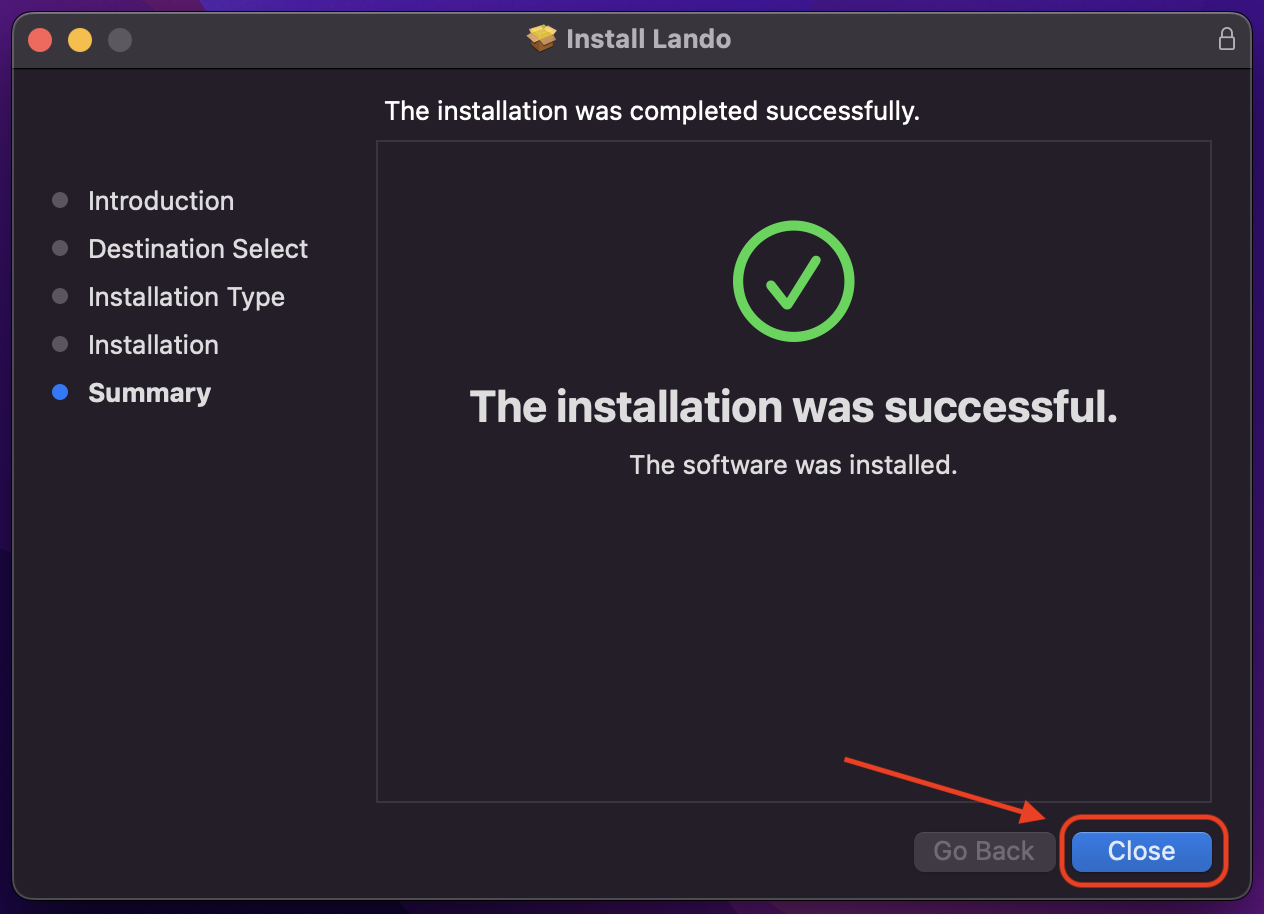
Install DMG via direct download
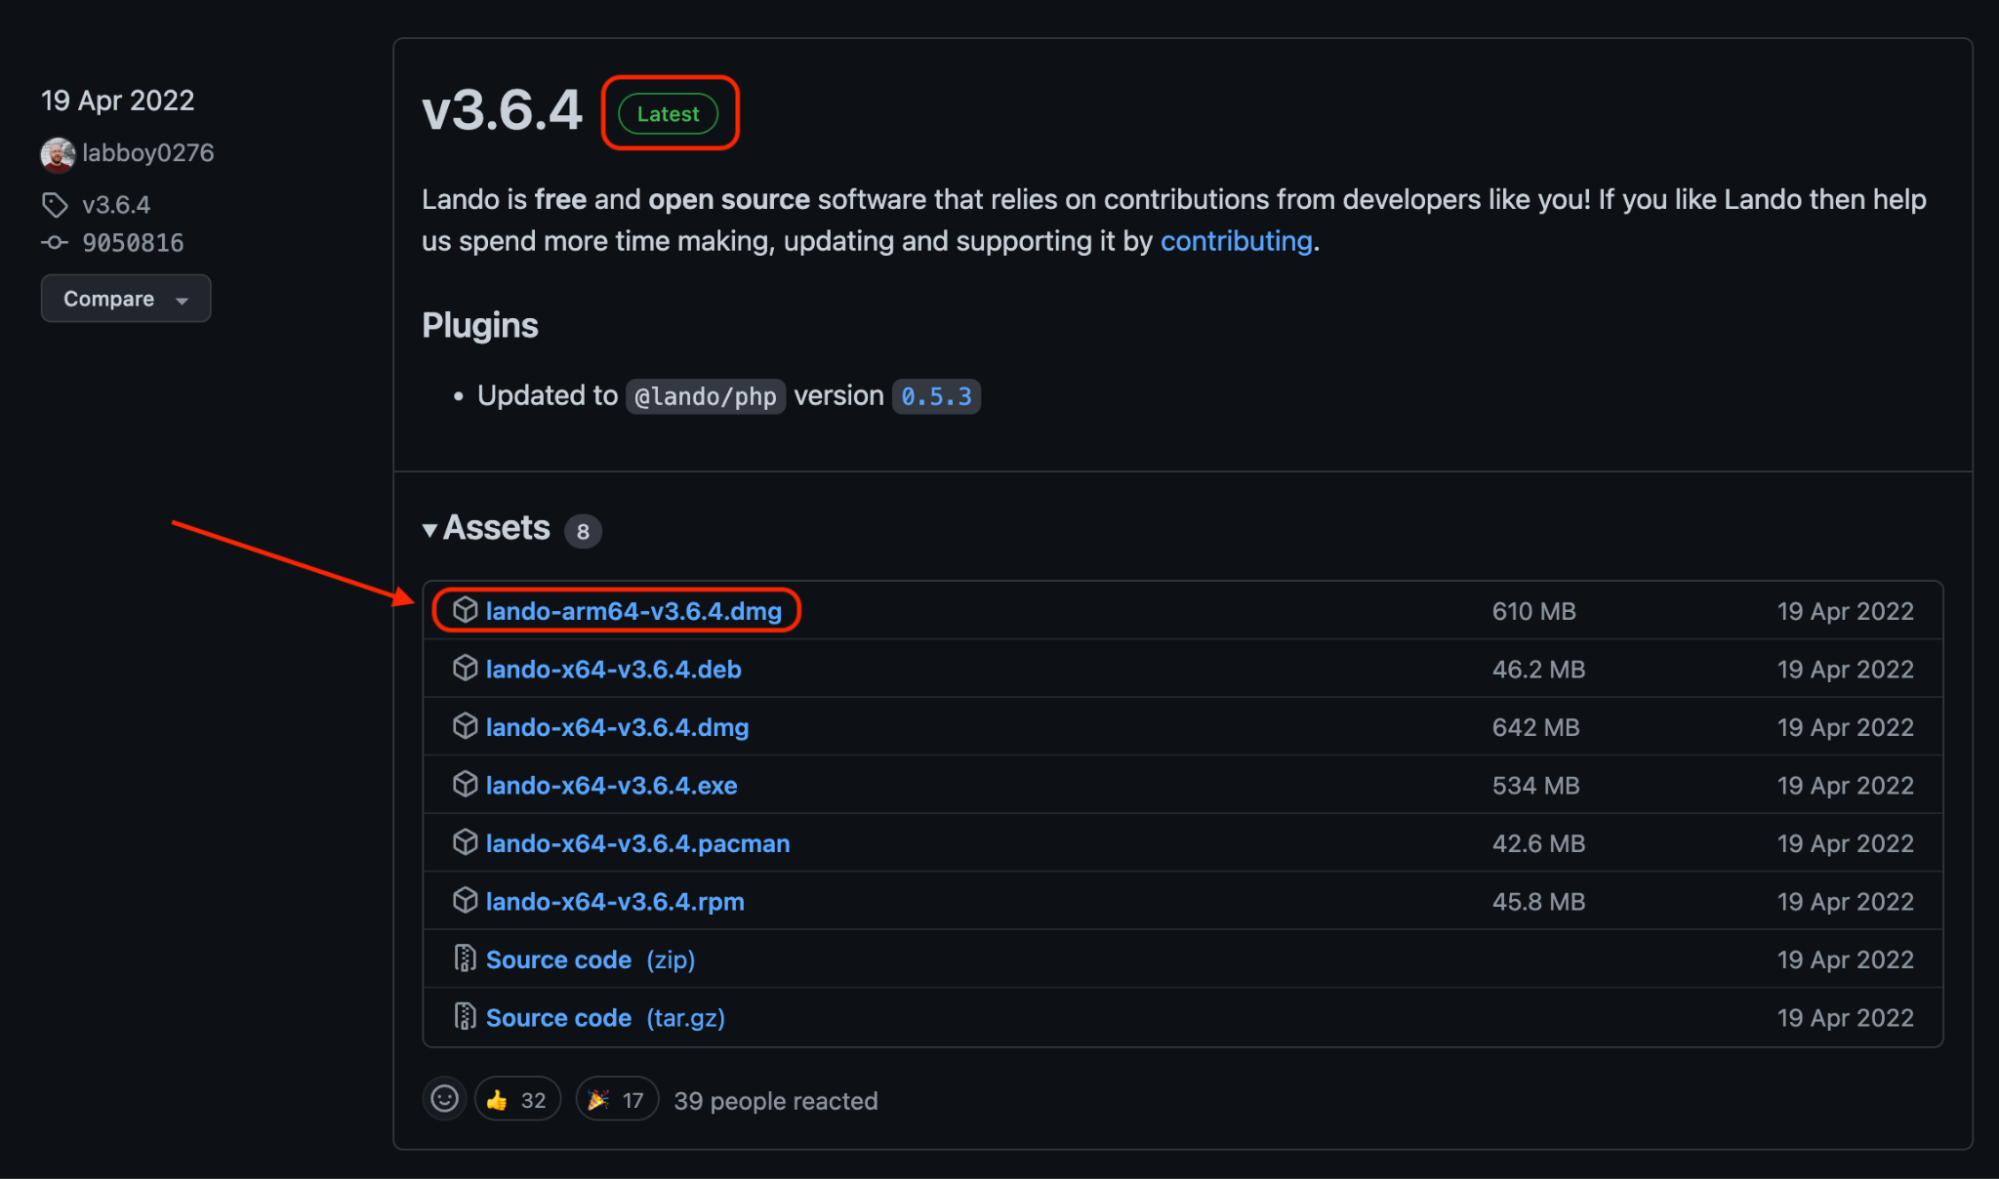
1 – Download the latest .dmg package from GitHub: https://github.com/lando/lando/releases
2 – Mount the DMG by double-clicking it
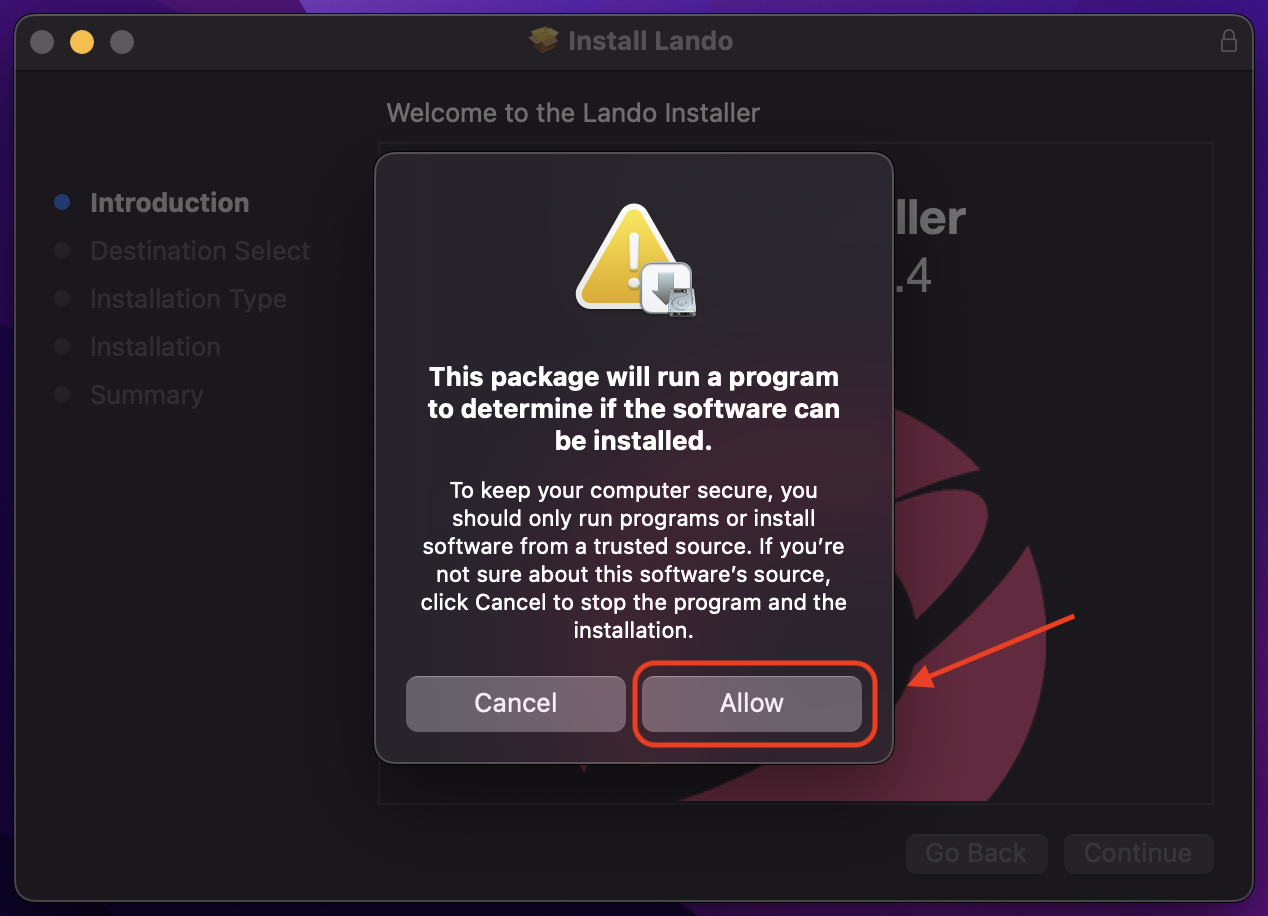
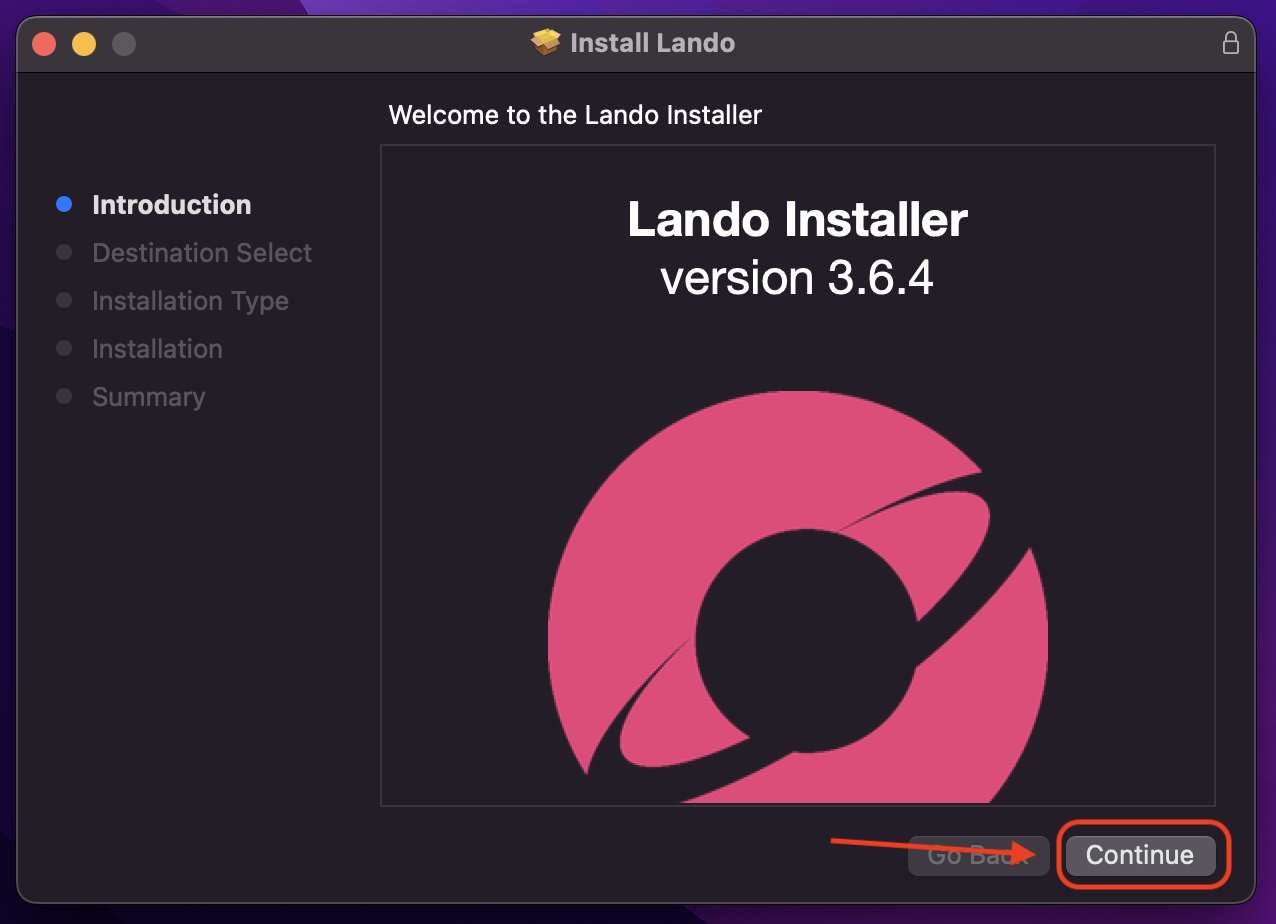
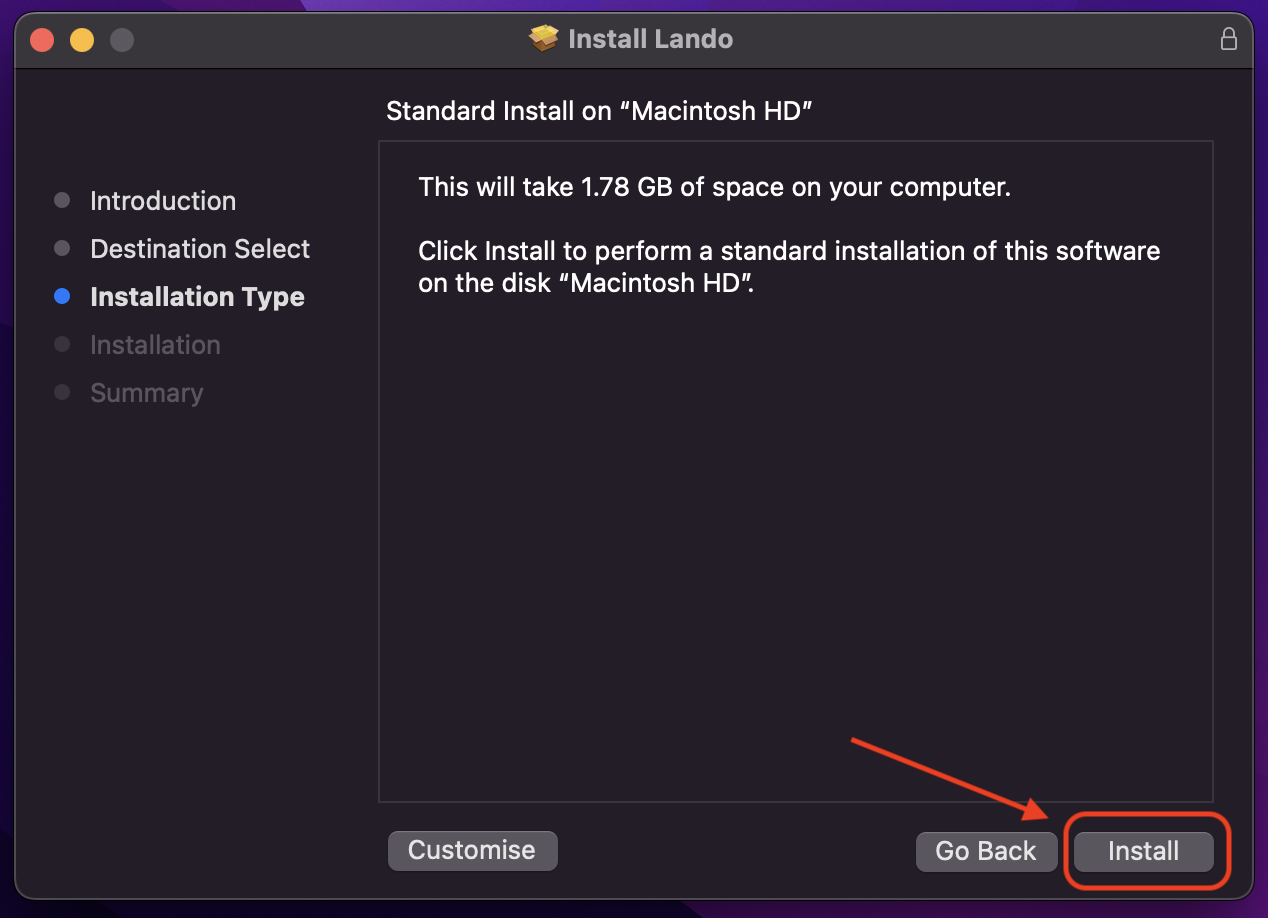
3 – Double-click on the LandoInstaller.pkg

4 – Go through the setup workflow
5 – Enter your username and password when prompted
Configure your Acquia Lando Local Site
Open your terminal and run the following commands to get your local site up and running:
Power off Lando:
lando poweroff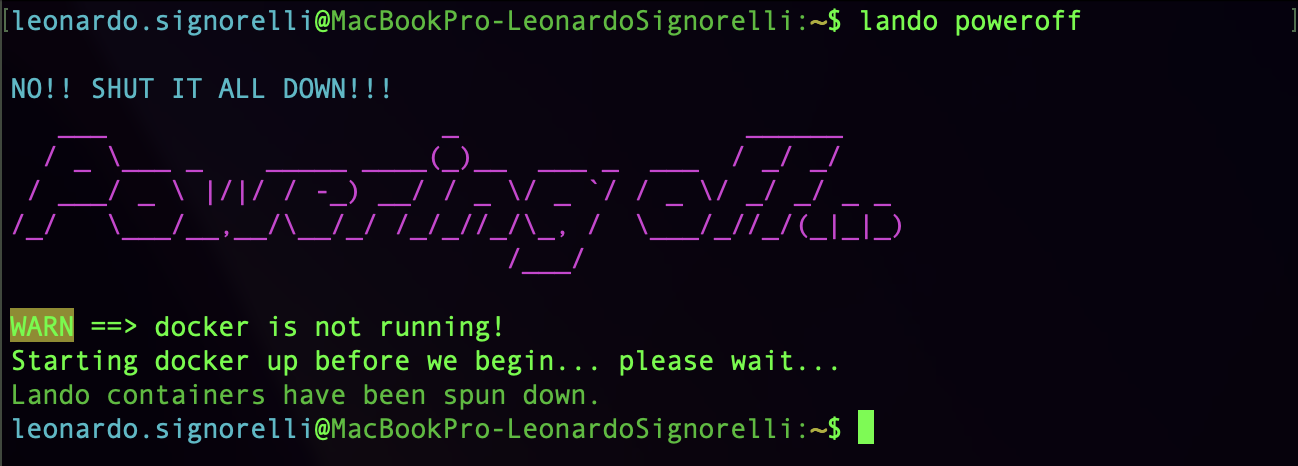
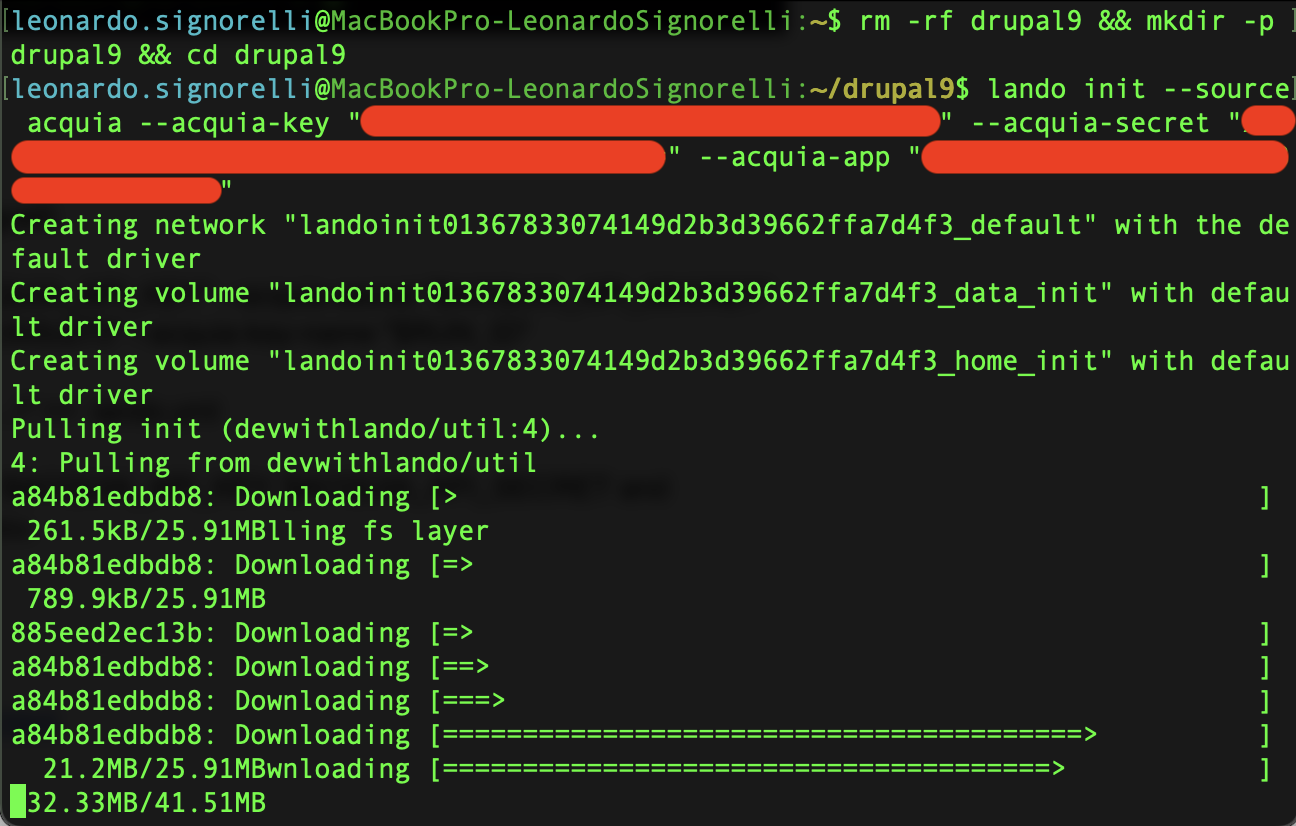
Initialize the lando acquia test drupal9 site:
rm -rf drupal9 && mkdir -p drupal9 && cd drupal9lando init --source acquia --acquia-key "YOUR_ACQUIA_API_KEY" --acquia-secret "YOUR_ACQUIA_API_SECRET" --acquia-app "YOUR_APPLICATION_UUID"Note that you will need to replace YOUR_ACQUIA_API_KEY, YOUR_ACQUIA_API_SECRET and –acquia-app to values that make sense for you.
Replace YOUR_ACQUIA_API_KEY and YOUR_ACQUIA_API_SECRET with your new API Key and API secret from the Generating an API token section.
To find your Application UUID, go to your Cloud Platform user interface and click the “Product Keys” option located on the left menu bar:

Gather your Application UUID, your API Key and API secret and make sure you type the “lando init” command correctly:
Click the OK button if you receive the “Docker would like to access files in your Desktop folder” prompt:
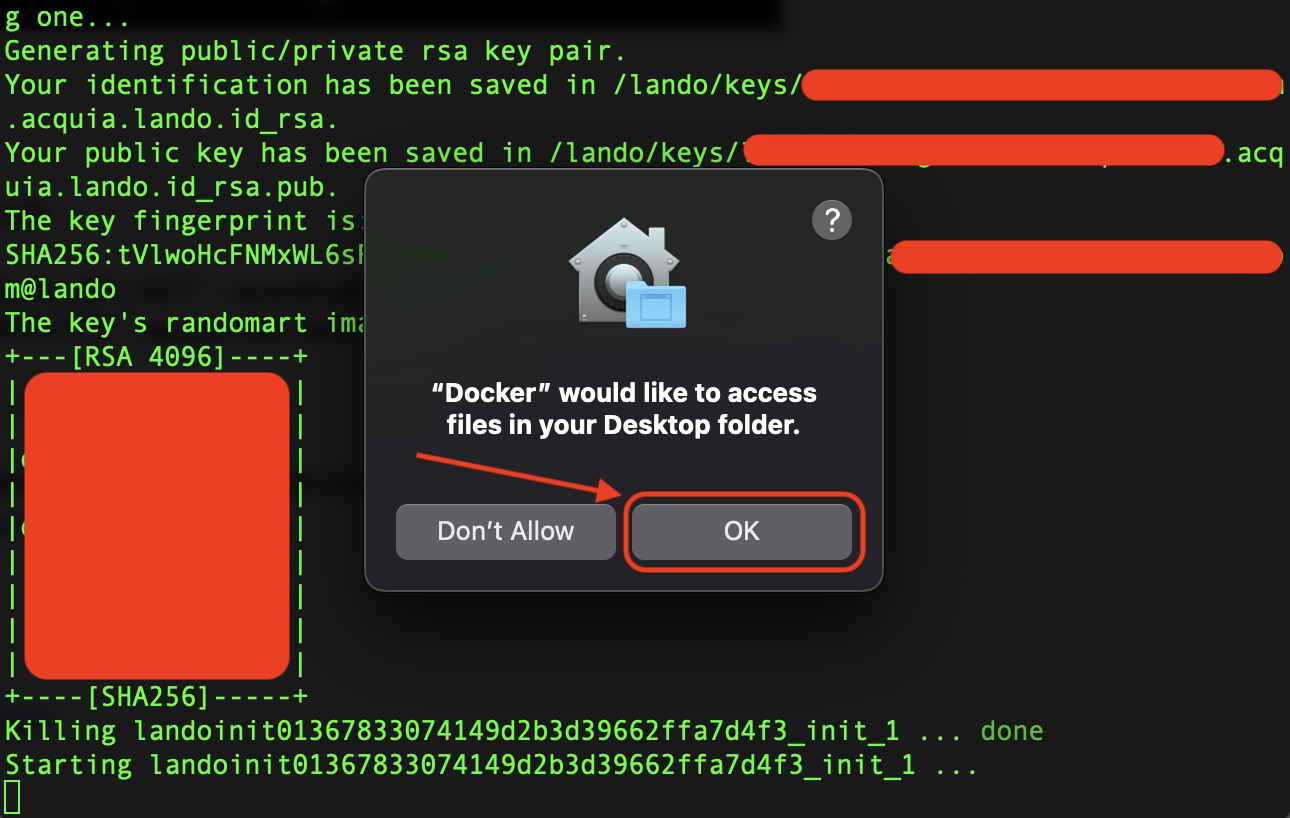
Enter the SSH key passphrase you used on the “Adding your SSH key to your account” step:

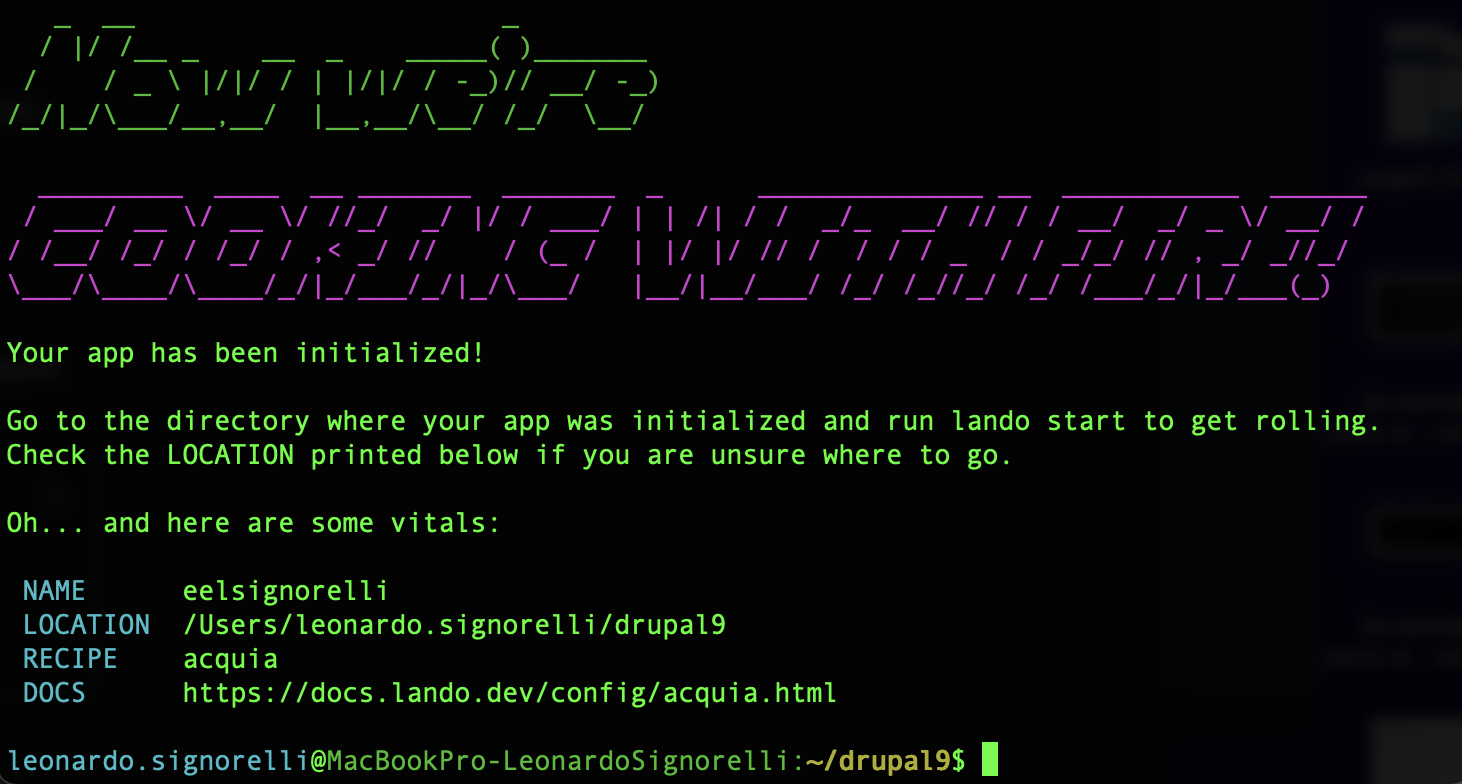
You should see the following screen if everything was initialized correctly:
Add the Acquia Lando plugin to the “.lando.yml” file:
echo -e "\nplugins:\n \"@lando/acquia/\": ./../../" >> .lando.yml
Because our Drupal site in Acquia Cloud Platform is still on PHP 7.4, we will need to change the “acli_version” value of the “.lando.yml” file to the last ACLI version in the 1.x line, ACLI version 1.30.1 which supports PHP 7.4. You can find more information here: https://github.com/acquia/cli/releases/tag/1.30.1
Edit the .lando.yml file:
nano .lando.ymlChange the value of “acli_version” from latest to 1.30.1:

Save the changes and close your text editor.
Start your Acquia Lando Local Site
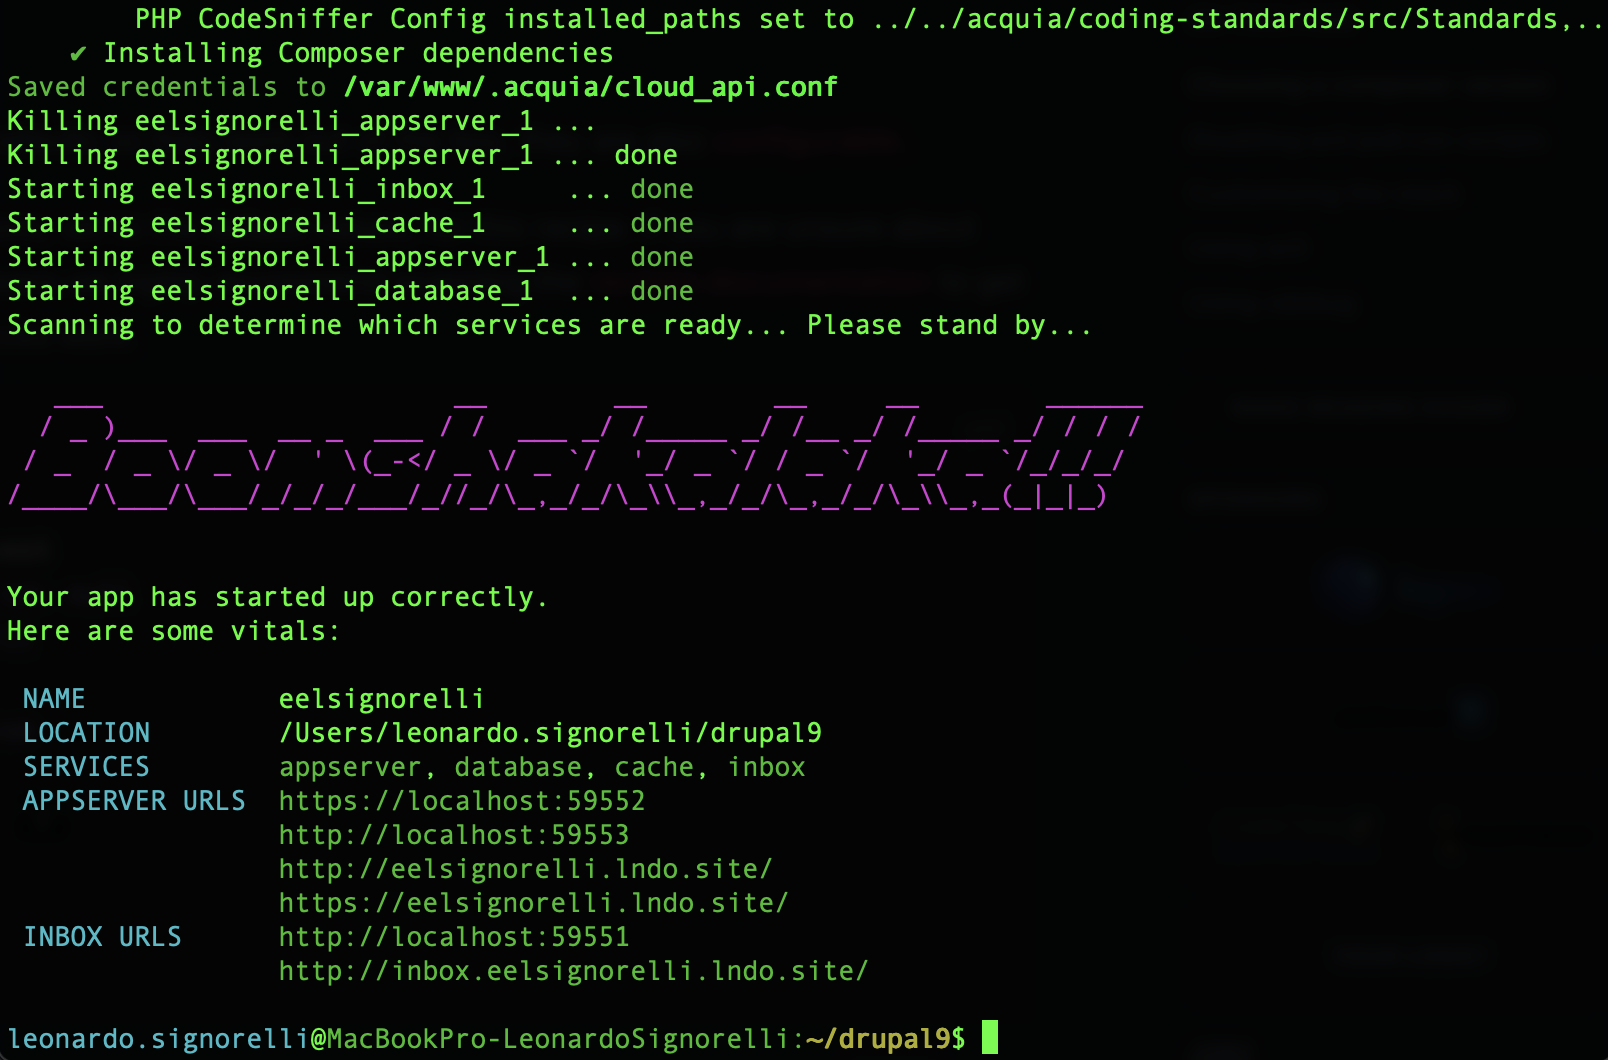
Now it’s time to start up your new local drupal9 site:
lando startIf everything works out fine, you should see the “Boomshakalaka!!!“ message and get your vital links:
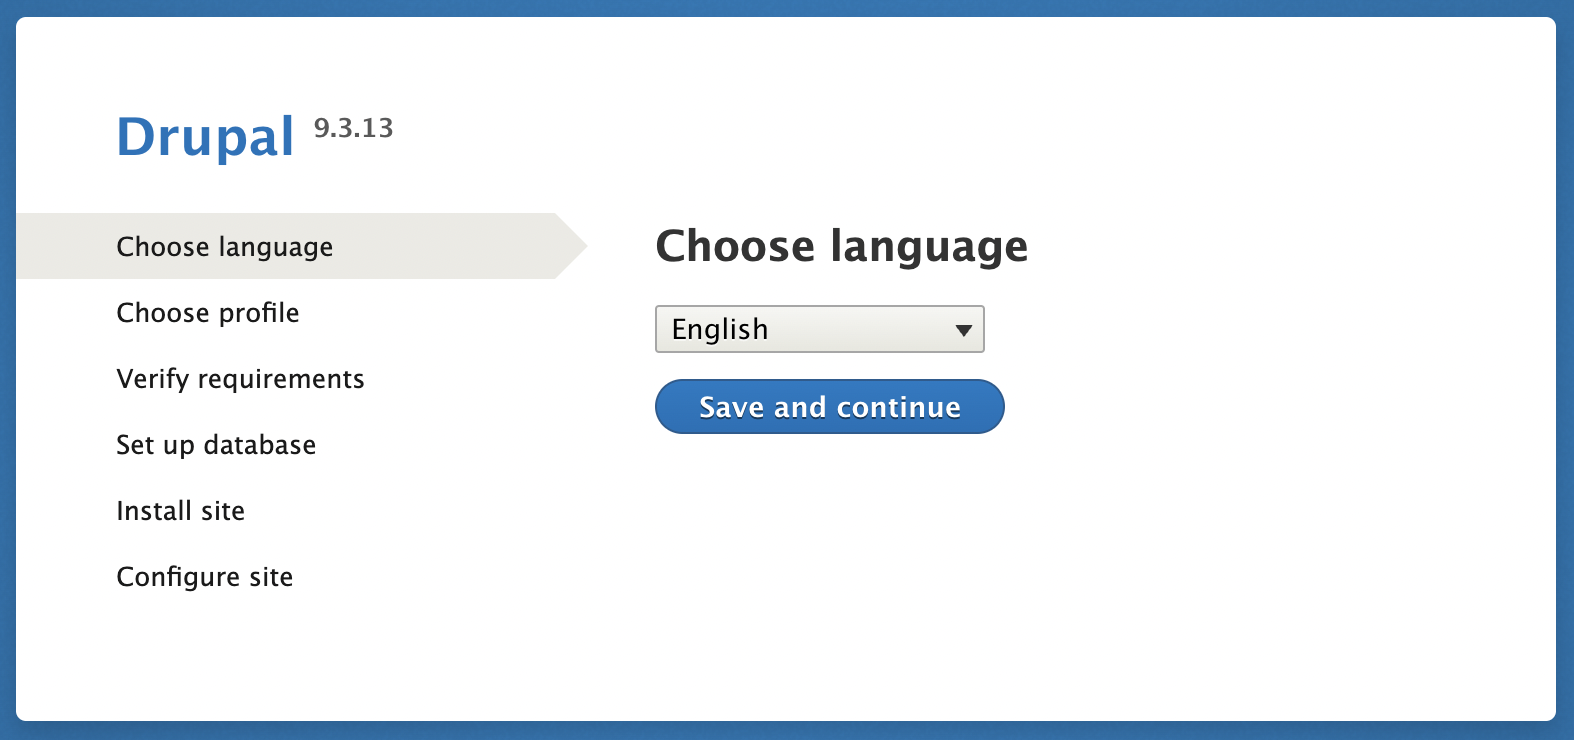
If you go to your local site, you should see the Drupal installation screen:
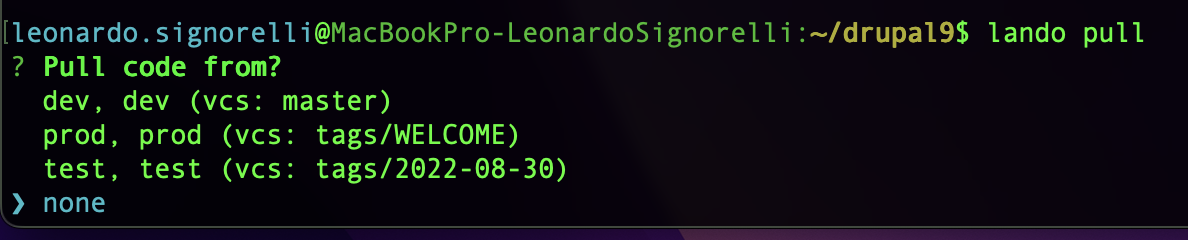
I already have a Drupal site running on my Acquia Cloud Platform account so I will pull down its Database and Files to my new local site. If this is the first time you are setting up a local Drupal site using the Acquia lando plugin, I don’t recommend pulling down the Code from your Cloud Platform site because it will create git conflicts.
Pull down the Database and Files from your active Drupal site on Acquia Cloud Platform to your new local Drupal site:
lando pullPull code from? <Select none>
Pull database from? <Select the Database from the correct environment>
Pull files from? <Select the Files from the correct environment>


If everything goes well, you should see something like this:

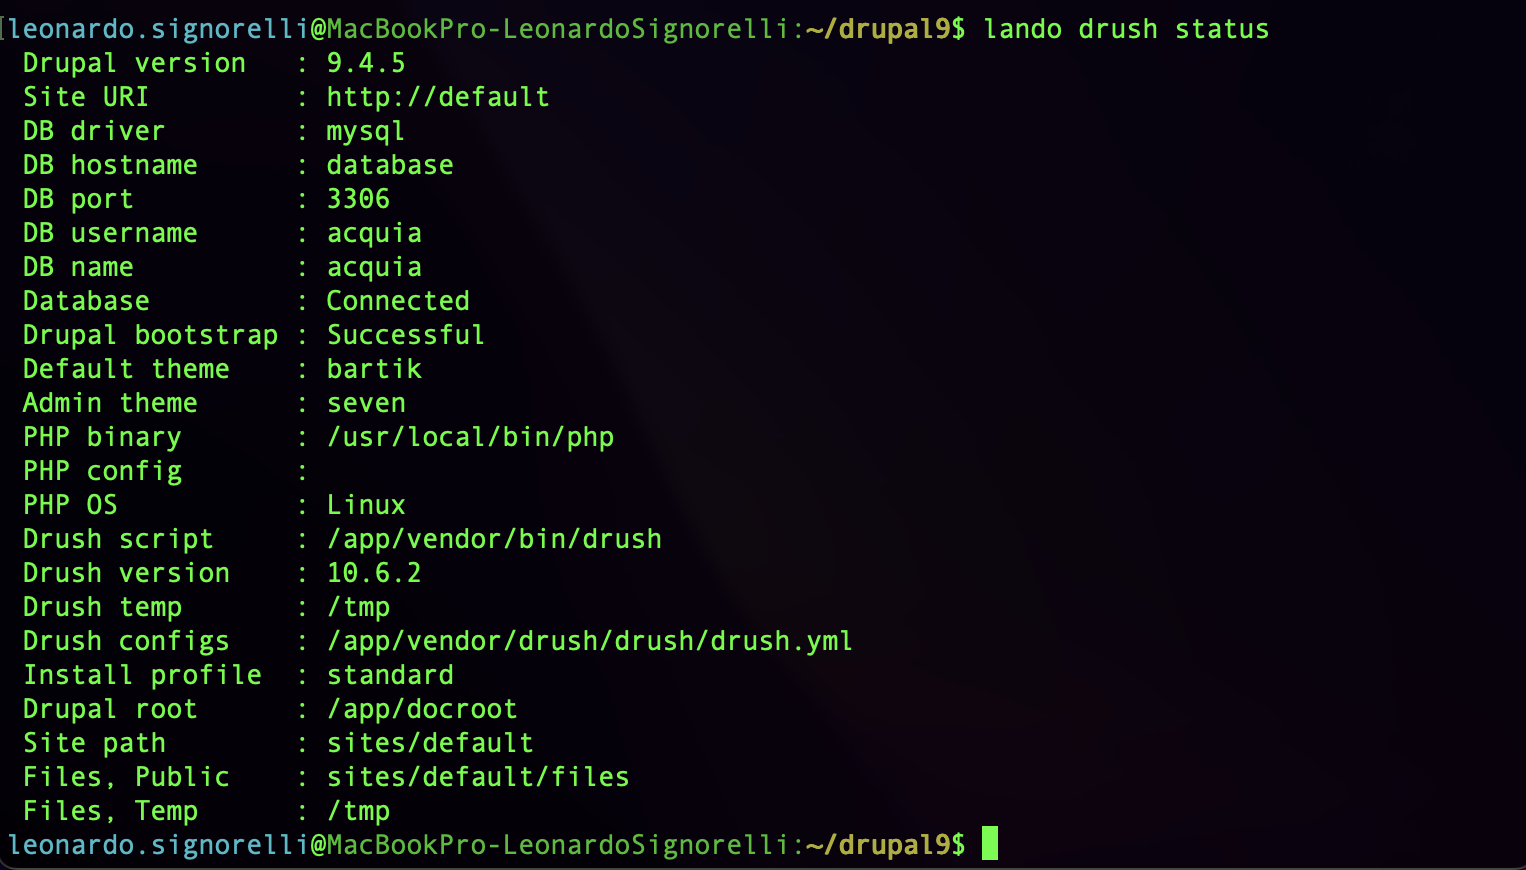
Let’s check the site status with drush:
lando drush statusIf you get the following “config sync directory not defined” error, do the following:

Edit your settings.php file:
(from the drupal9 folder)
nano docroot/sites/default/settings.phpIf you are using nano, you can search for config_sync_directory with the Ctrl+W hotkey.
Replace the following line:
# $settings[‘config_sync_directory’] = ‘/directory/outside/webroot’;
With this one:
$settings[‘config_sync_directory’] = ‘../config/default’;
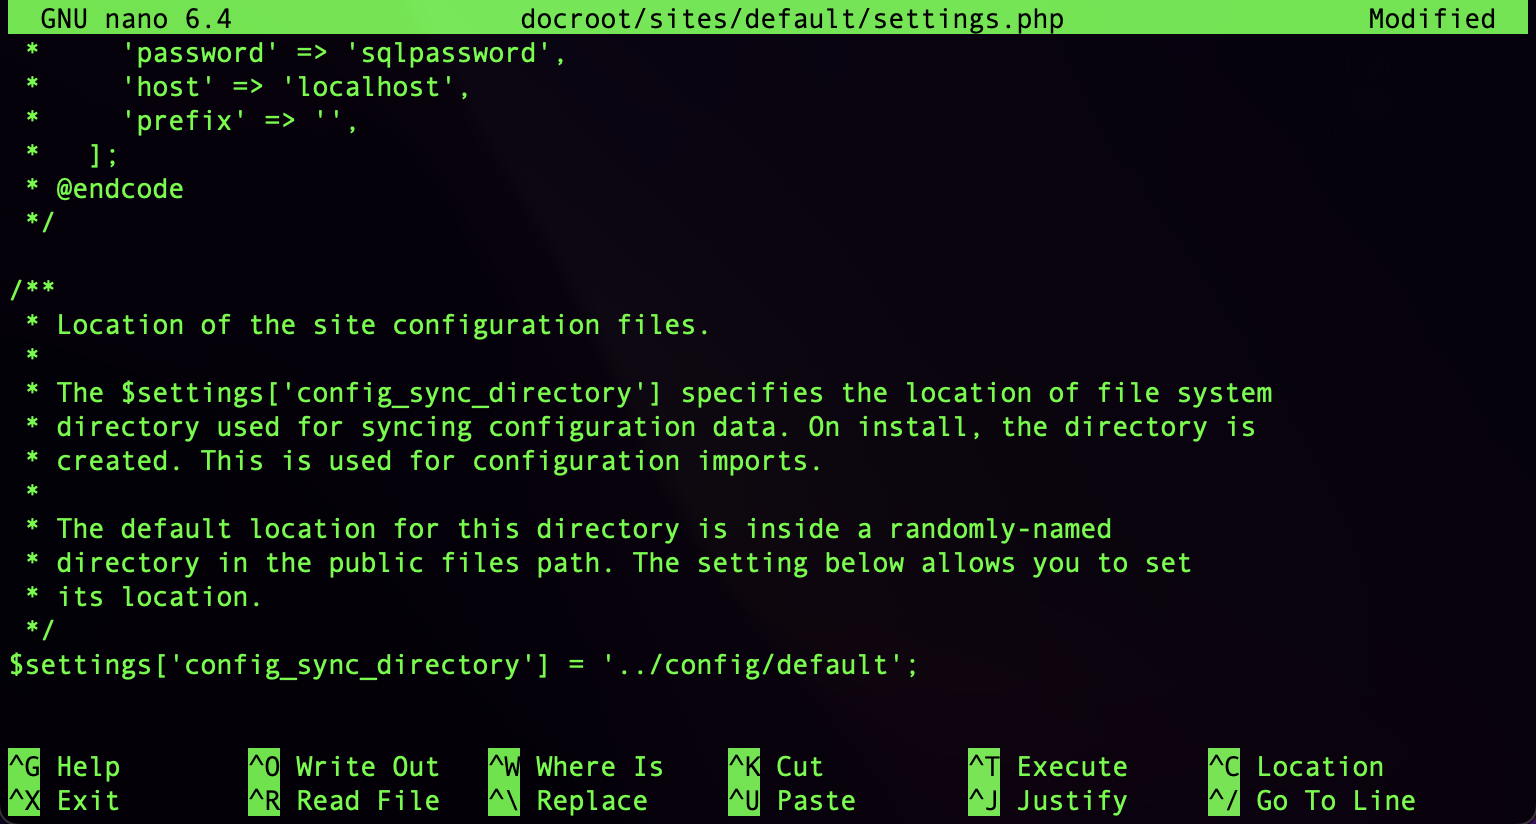
Save the changes and exit nano.
Now, let’s check the site status with drush on more time:
lando drush statusEverything should look fine now:
Clear the cache:
lando drush cr
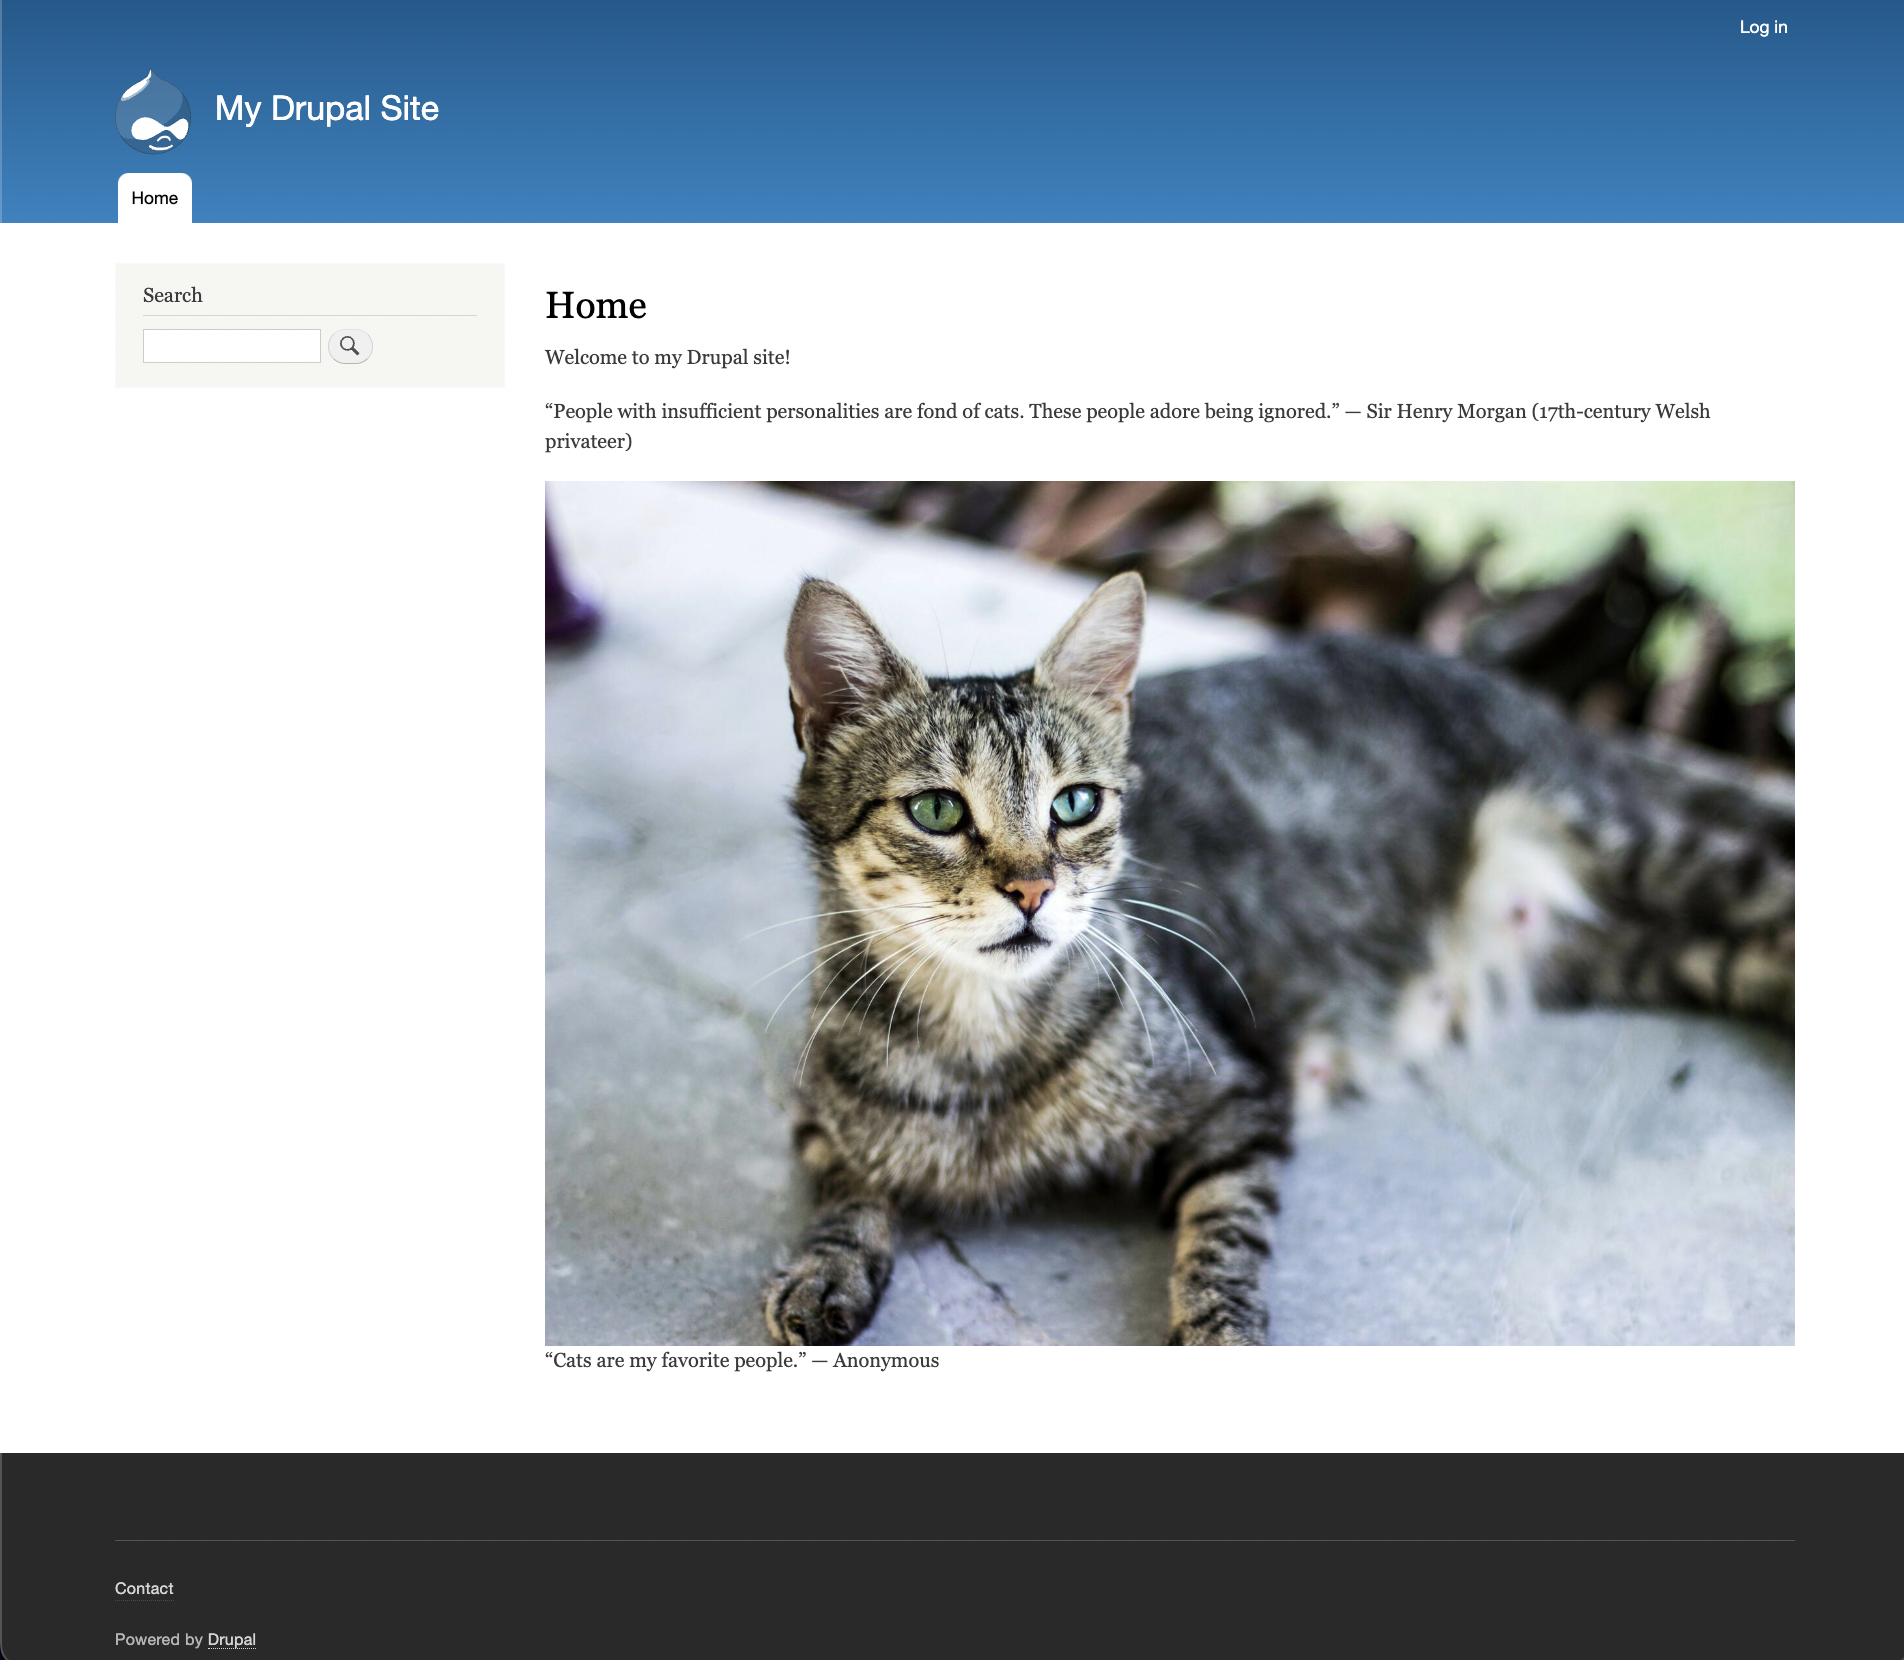
You should be able to see your site now:

Post configuration, Make your Changes and Push to Acquia Cloud
Some modules might have database schema updates to install. You should run the following drush command:
lando drush updb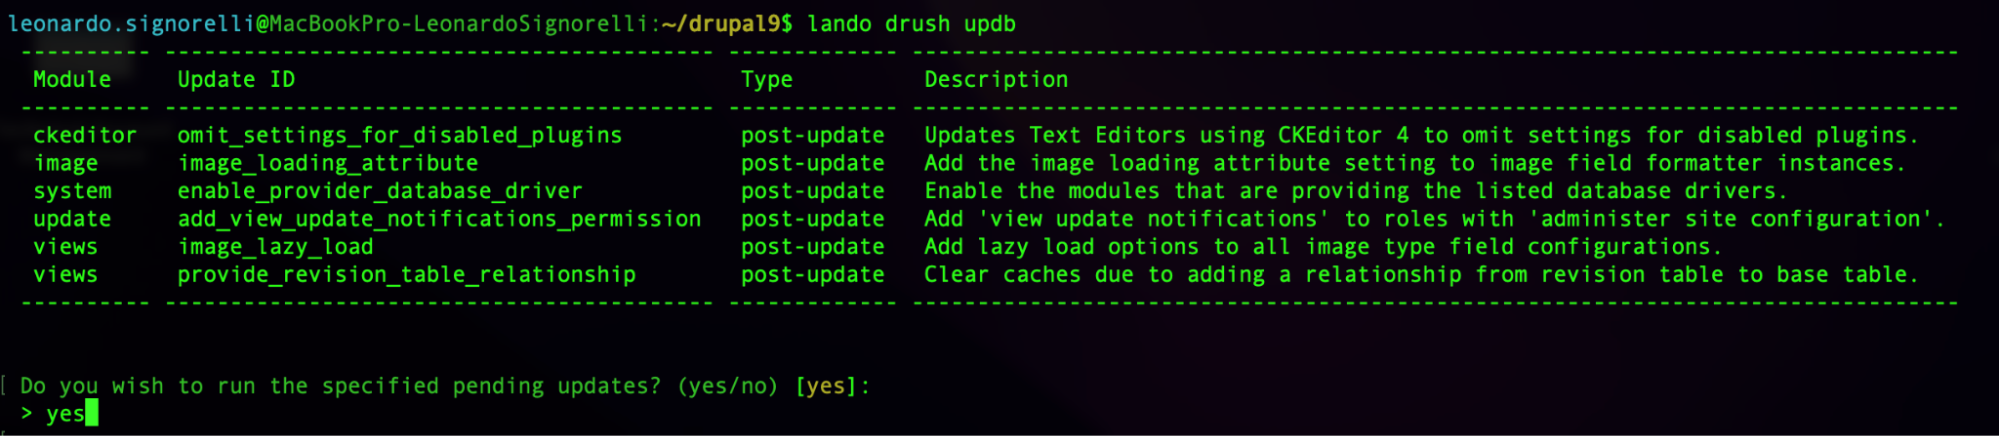
Install the Database updates if any.

It’s time to make some changes to your site. I will update my homepage:
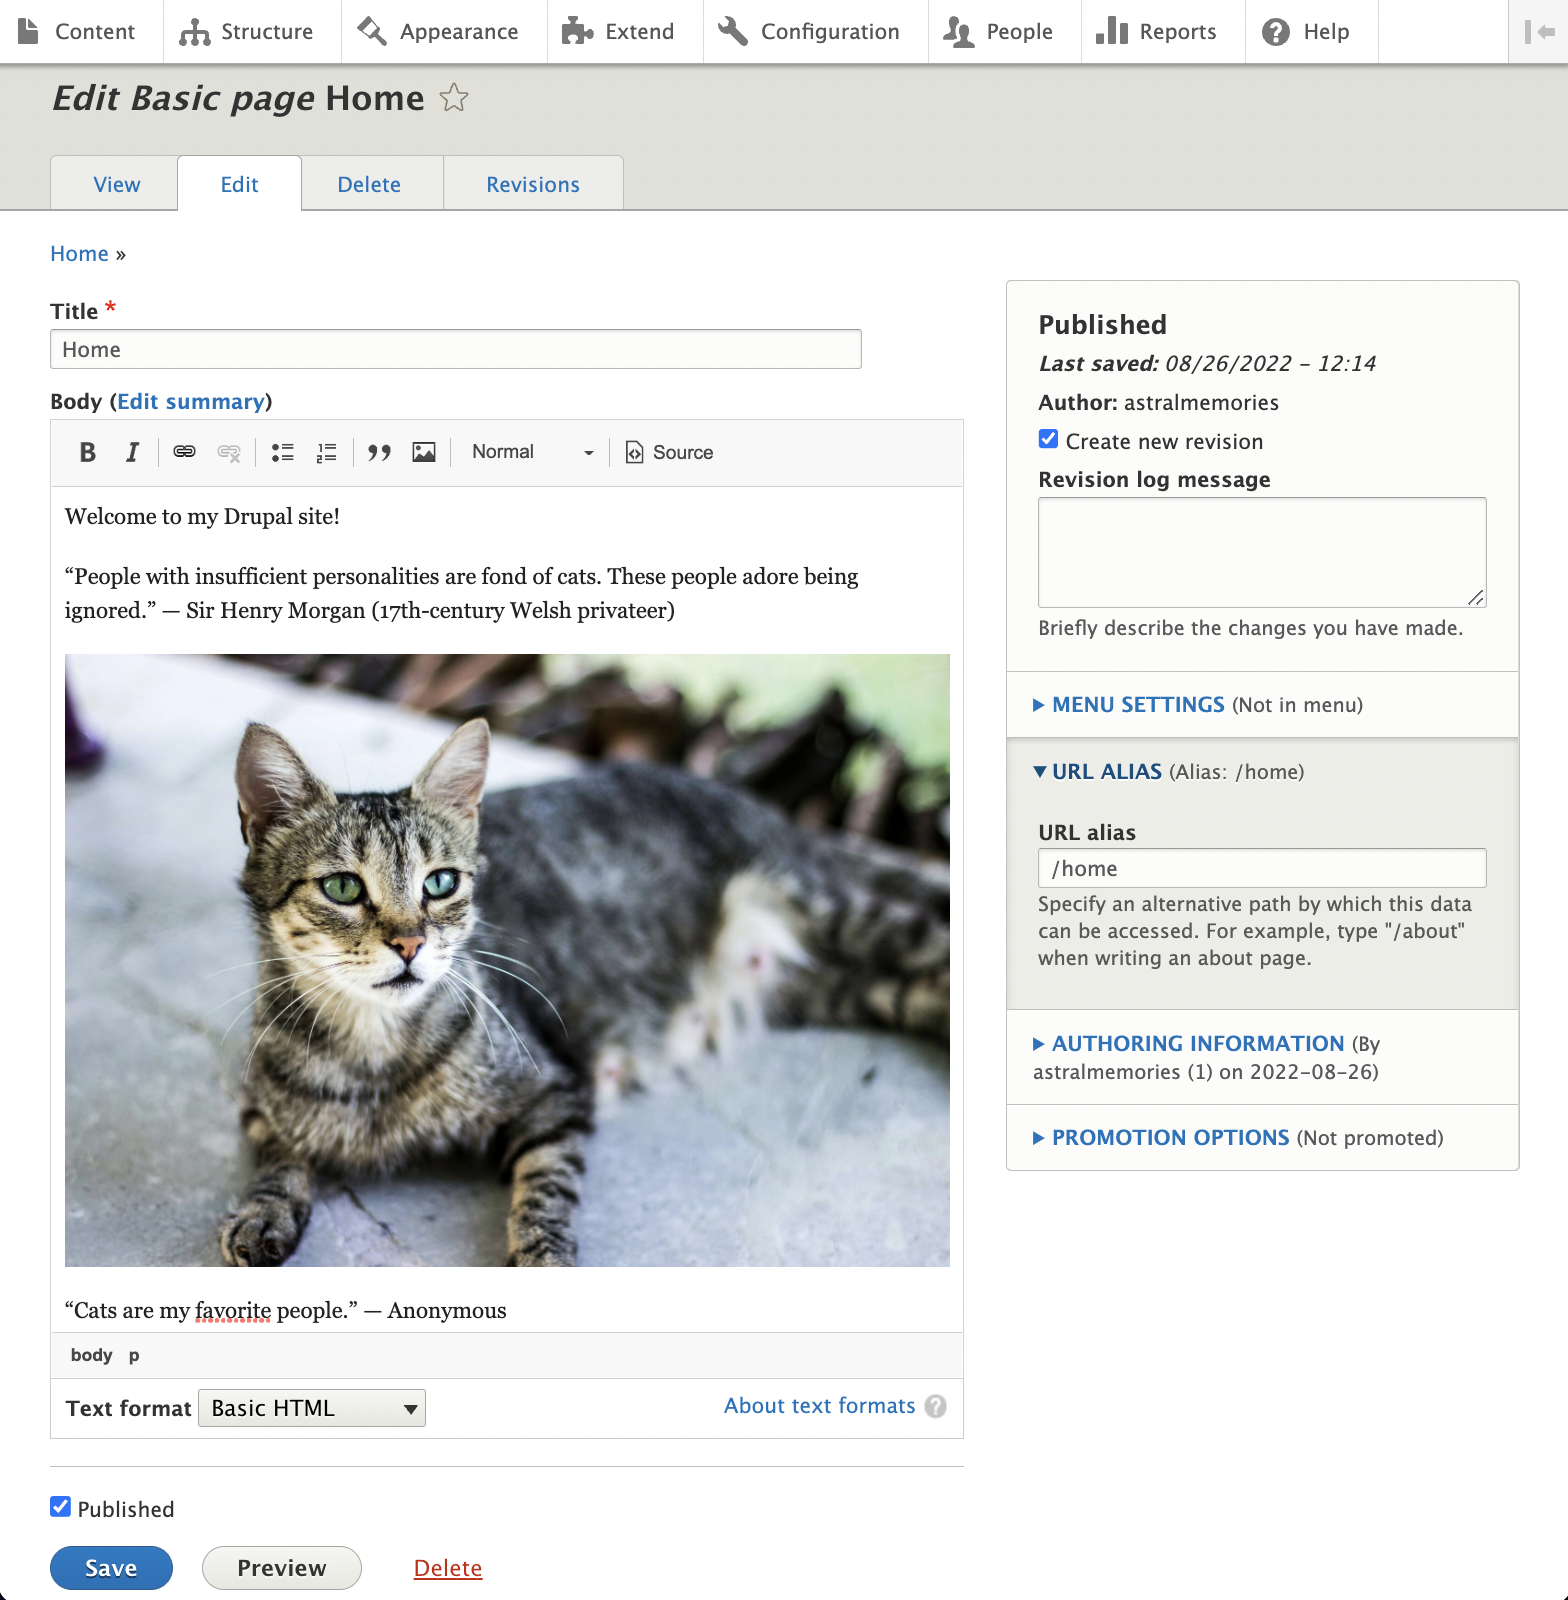
Done!
Export your new configuration:
lando drush cexTypes “yes” and press Enter.

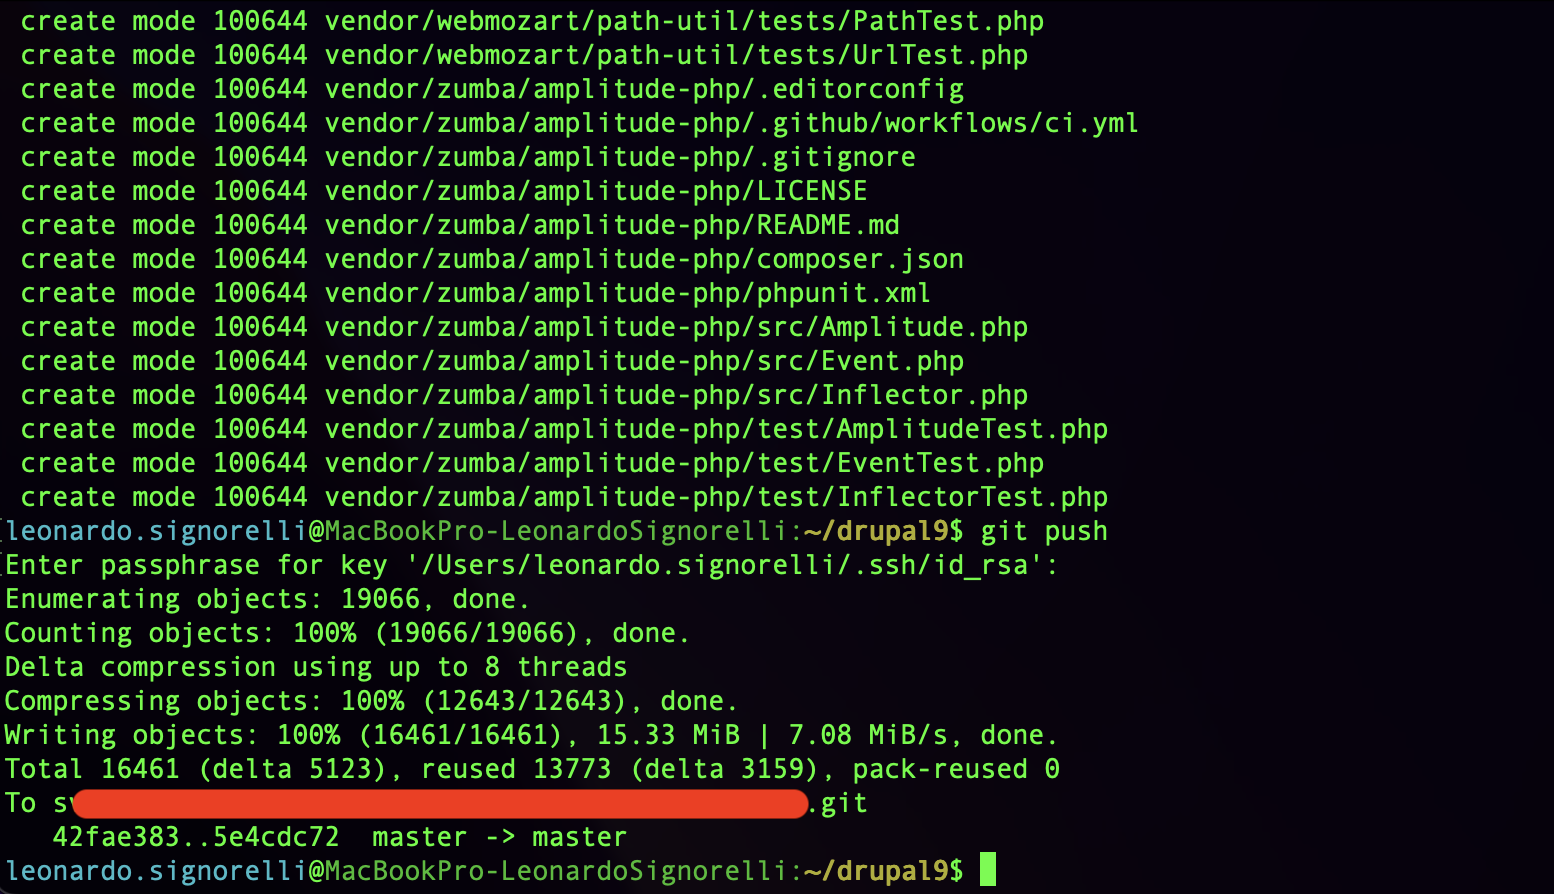
Commit and Push your local changes to your Git repository:
git add -A

git commit -m “YOUR COMMIT MESSAGE”

git push
If prompted, enter your SSH key passphrase:
Now is time to push your changes to your Acquia Cloud Platform.
lando pushPush code to? <Select the desired target environment (Dev or Test)>
Push database to? <Select the desired target environment (Dev or Test)>
Push files to? <Select the desired target environment (Dev or Test)>
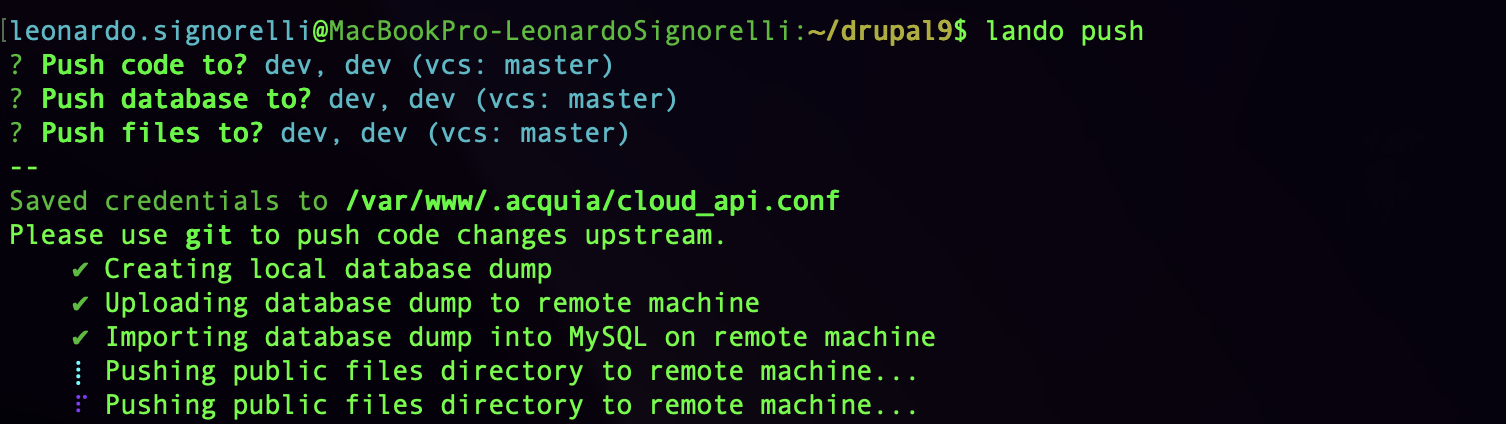

Ready!!
Now you have your new Code, Database, and Files in the selected Environment of your Acquia Cloud Platform.
You can make changes to your new site and push the Code, Database, and Files to production when ready.
Destroy your local Lando site (Optional)
Run the following commands to trash your local Site like nothing ever happened.
(Inside your drupal9 folder)
lando destroy -y
lando poweroff
Useful Resources
https://docs.acquia.com/lando/
https://docs.lando.dev/acquia/getting-started.html
https://docs.lando.dev/config/
https://docs.lando.dev/acquia/config.html
https://github.com/lando/acquia/tree/main/examples/drupal
https://docs.acquia.com/cloud-platform/develop/api/auth/#cloud-generate-api-token