The easiest way to install ffmpeg on a Mac is to use HomeBrew. If you don’t have homebrew installed on your mac already, run the following command using terminal:
/usr/bin/ruby -e "$(curl -fsSL https://raw.githubusercontent.com/Homebrew/install/master/install)"Once you have Homebrew installed, you can now simply install ffmpeg from terminal with the following command:
brew install ffmpegFfmpeg one-liner
Use the following ffmpeg command to convert image sequence to MP4:
ffmpeg -framerate 24 -pattern_type glob -i '*.jpg' -c:v libx264 -profile:v high -crf 16 -pix_fmt yuv420p output.mp4You can change the Frame rate:
-framerate 30This great option makes it easier to select the images from a folder in many cases:
-pattern_type glob -i '*.jpg'You can change the image sequence input extension to PNG:
'*.png'The video codec is libx264 (H.264):
-c:v libx264Use H.264 High Profile (advanced features, better quality):
-profile:v highConstant quality mode, very high quality:
-crf 16Use YUV pixel format and 4:2:0 Chroma subsampling:
-pix_fmt yuv420pExample:
Open your terminal and go to the folder that contains all your images:

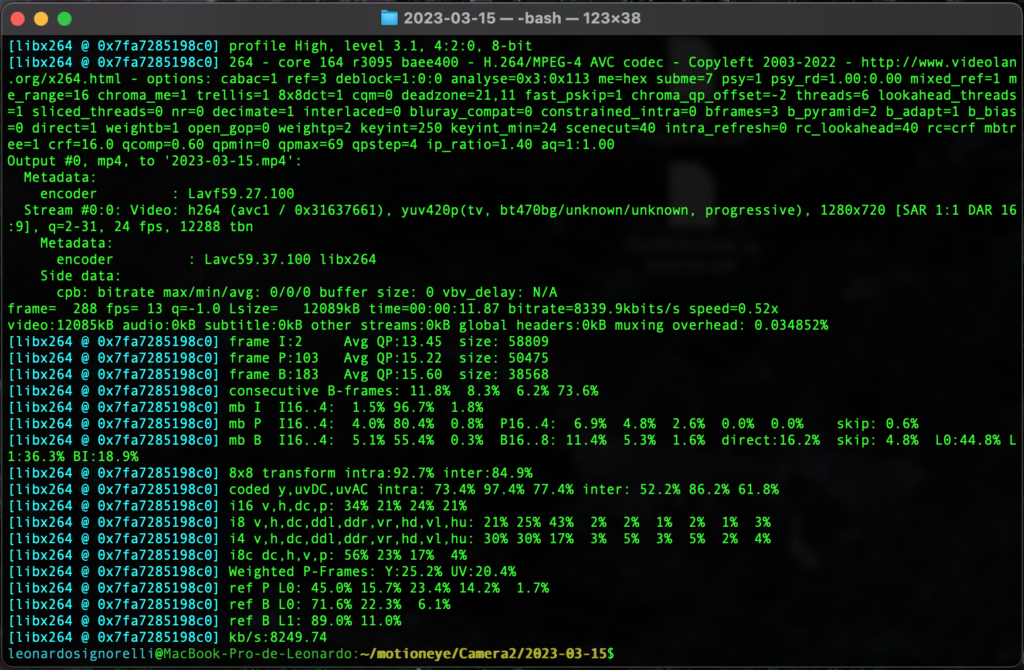
Execute the ffmpeg one-liner command:
ffmpeg -framerate 24 -pattern_type glob -i '*.jpg' -c:v libx264 -profile:v high -crf 16 -pix_fmt yuv420p 2023-03-15.mp4