Open your Cloud IDE
Click the “Reset Workspace” button or execute:
/ide/reset-workspace.py

Clone your Cloud Platform repo inside the project folder:
To find your Git URL, from your Acquia Cloud Platform Application page, go to any of the environments admin pages (dev, test, prod):

Clone your repo to the current project folder:
git clone eelsignorelli@svn-45062.prod.hosting.acquia.com:eelsignorelli.git .
Create a new branch called “new-site”:
git branch new-site
List all local branches:
git branch
Switch to the “new-site” branch:
git checkout new-site
Create a folder to install the new site:
mkdir newsite
Create a new Drupal application inside the newsite folder:
acli new newsite
Acquia recommends most customers use acquia/drupal-recommended-project to setup a Drupal project, which includes useful utilities such as Acquia Connector. Acquia/next-acms is a starter template for building a headless site powered by Acquia CMS and Next.js.
Choose a starting project [acquia/drupal-recommended-project]:
[0] acquia/drupal-recommended-project
[1] acquia/next-acms
> 0
Get inside the newsite folder:
cd newsite/
Remove all git files and the .git folder from the newly created Drupal application:
rm .editorconfig
rm .gitattributes
rm .gitignore
rm -rf .git
Go back to the project folder:
cd /home/ide/project
Copy and replace all the files from the newsite folder to the project folder
cp -r /home/ide/project/newsite/. /home/ide/project/
Remove the newsite folder:
rm -rf newsite/
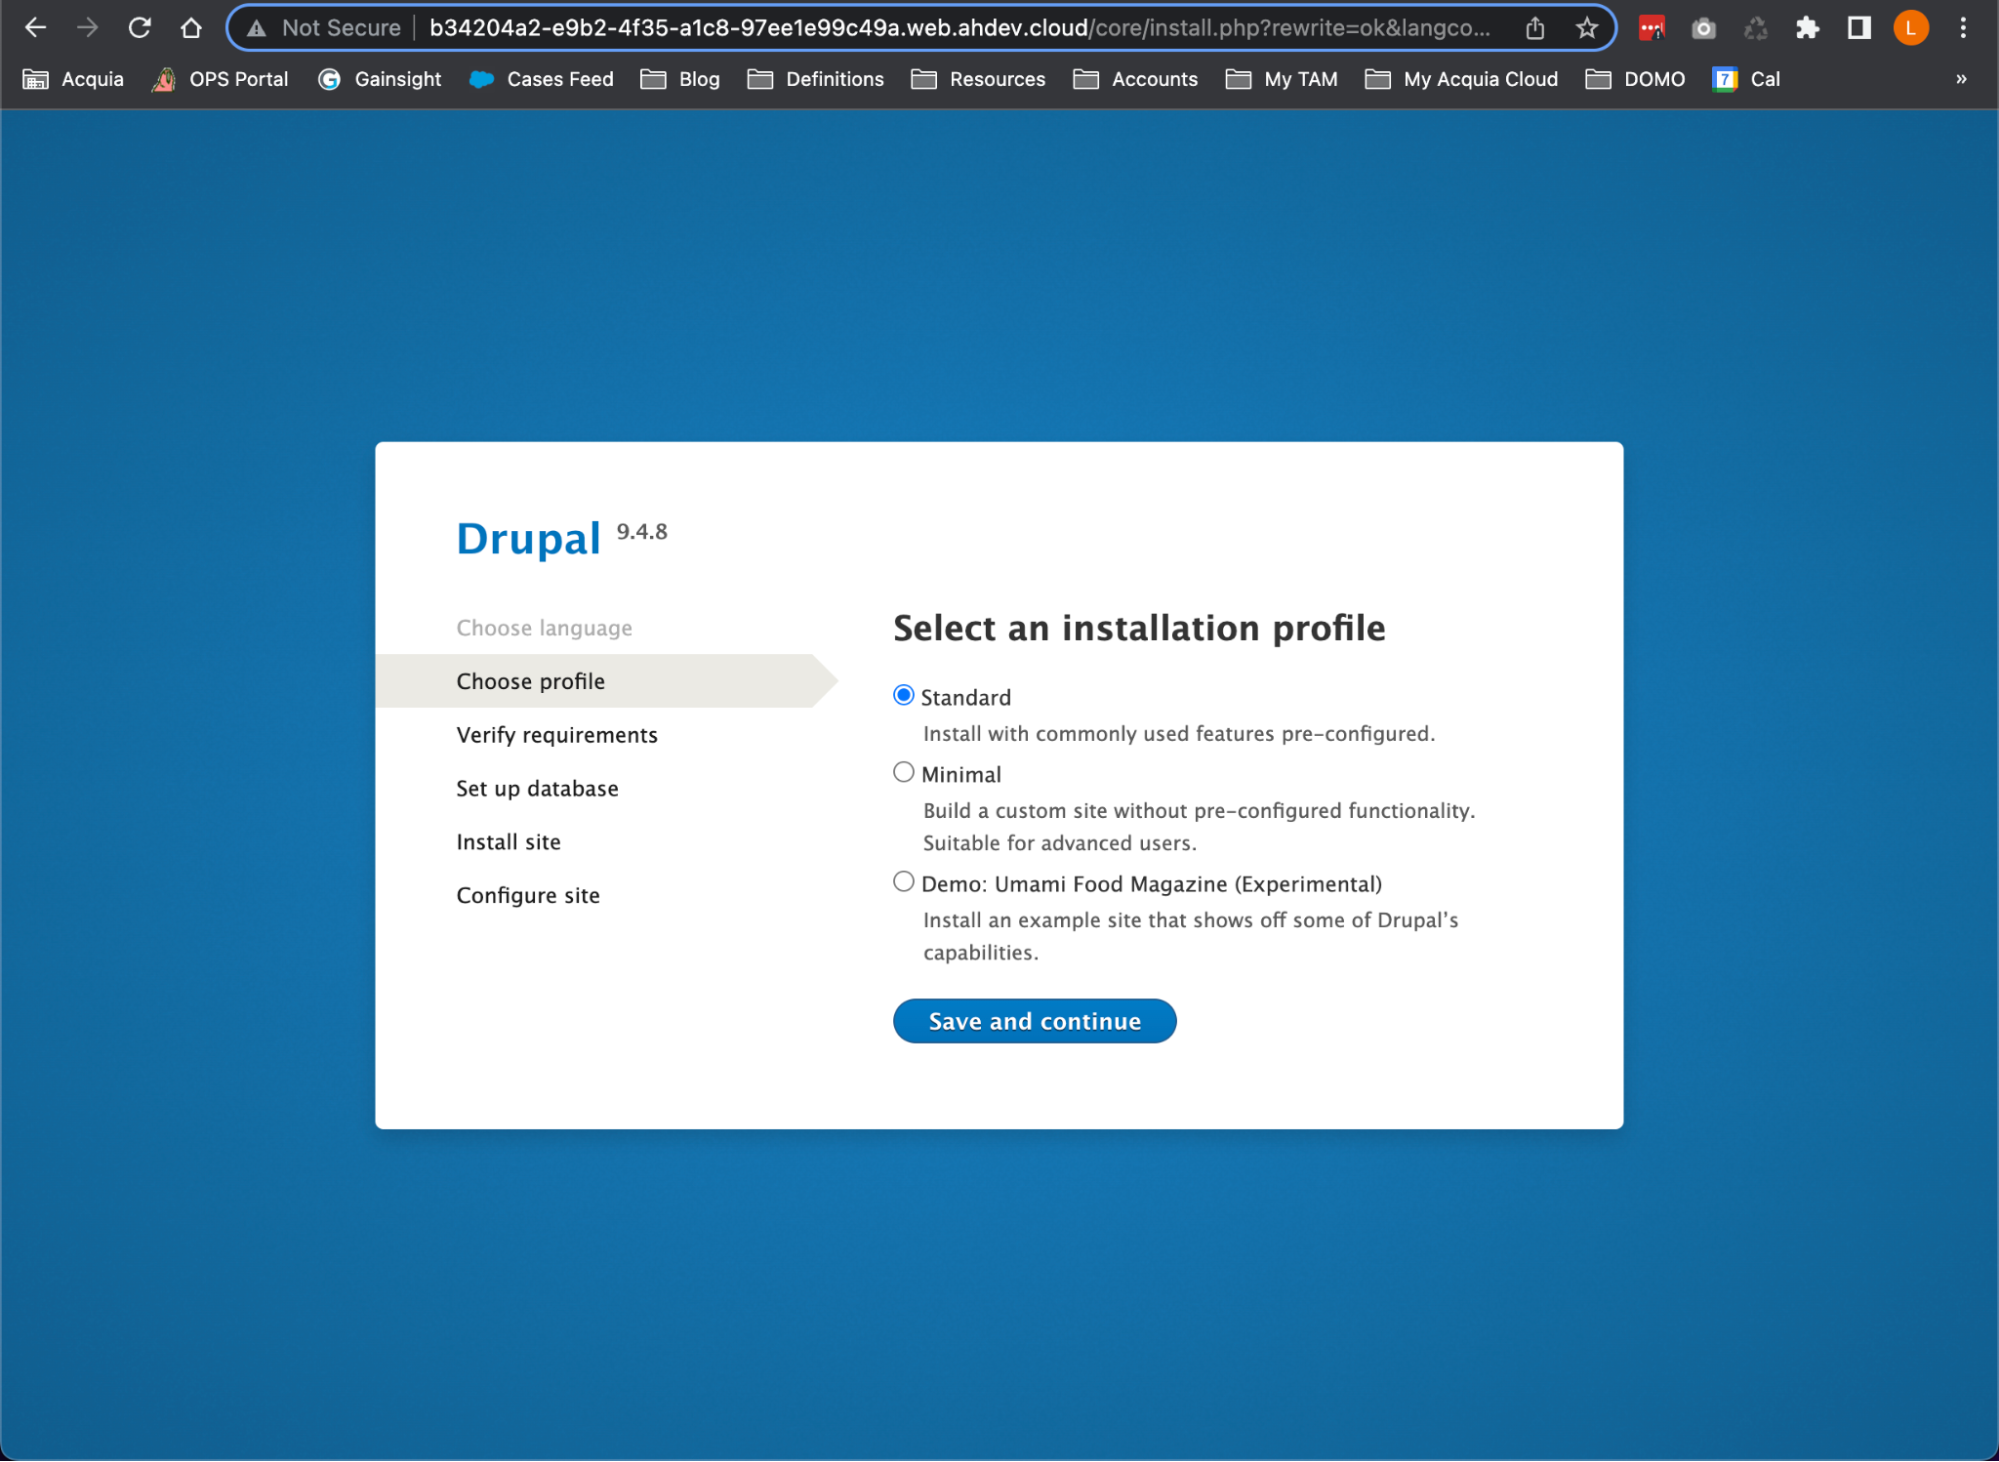
Go to the Drupal Installation Wizard to finish the installation:
On the Cloud IDE menu, go to “Manage Drupal Application” -> “Open Drupal Application”.

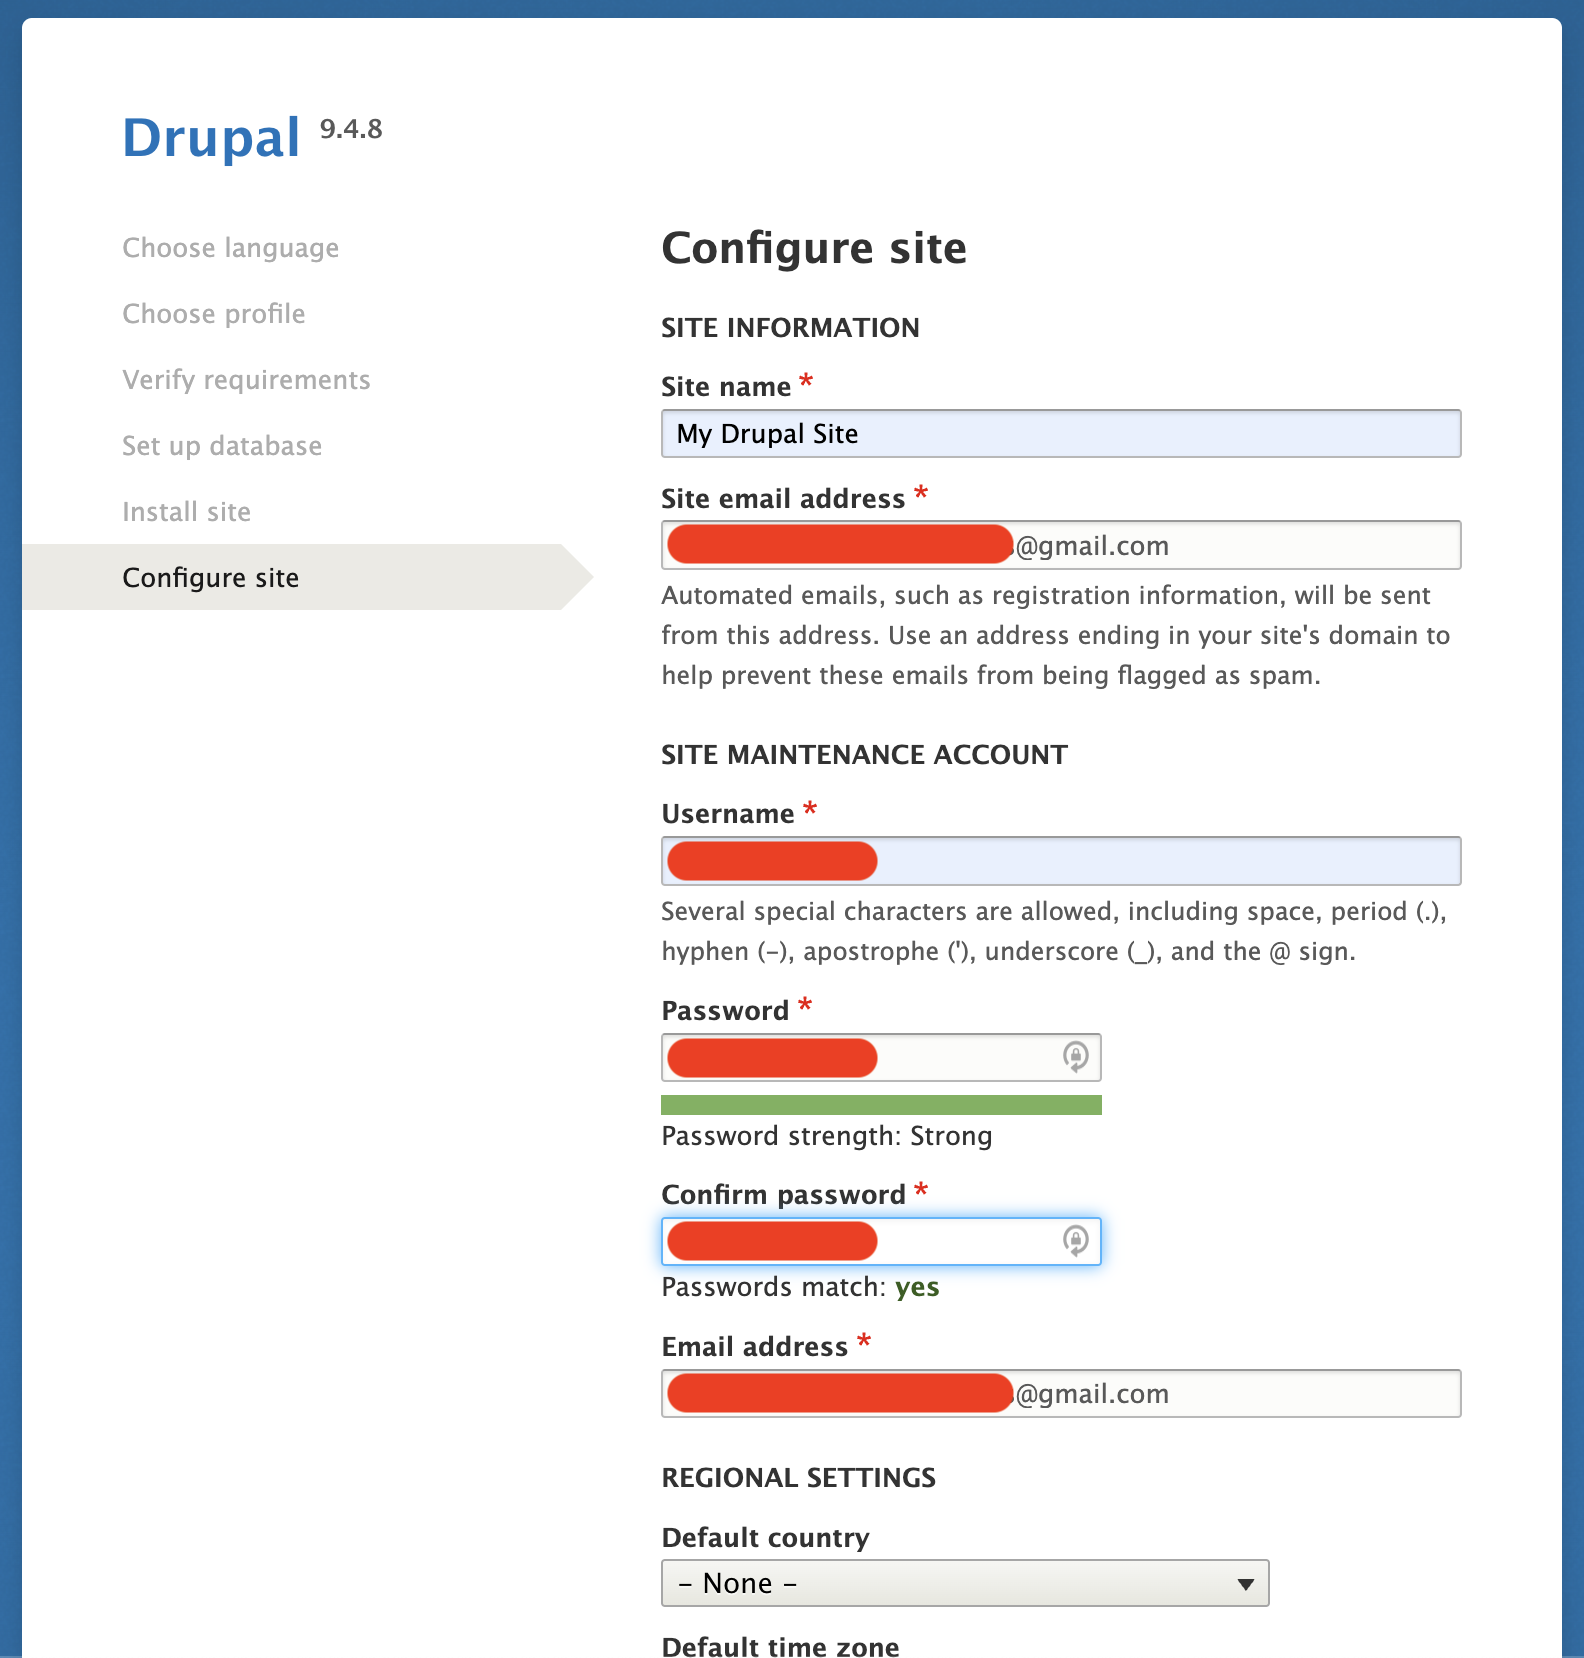
On the Database configuration step, use the following:
- Database name: drupal
- User: drupal
- Password: drupal


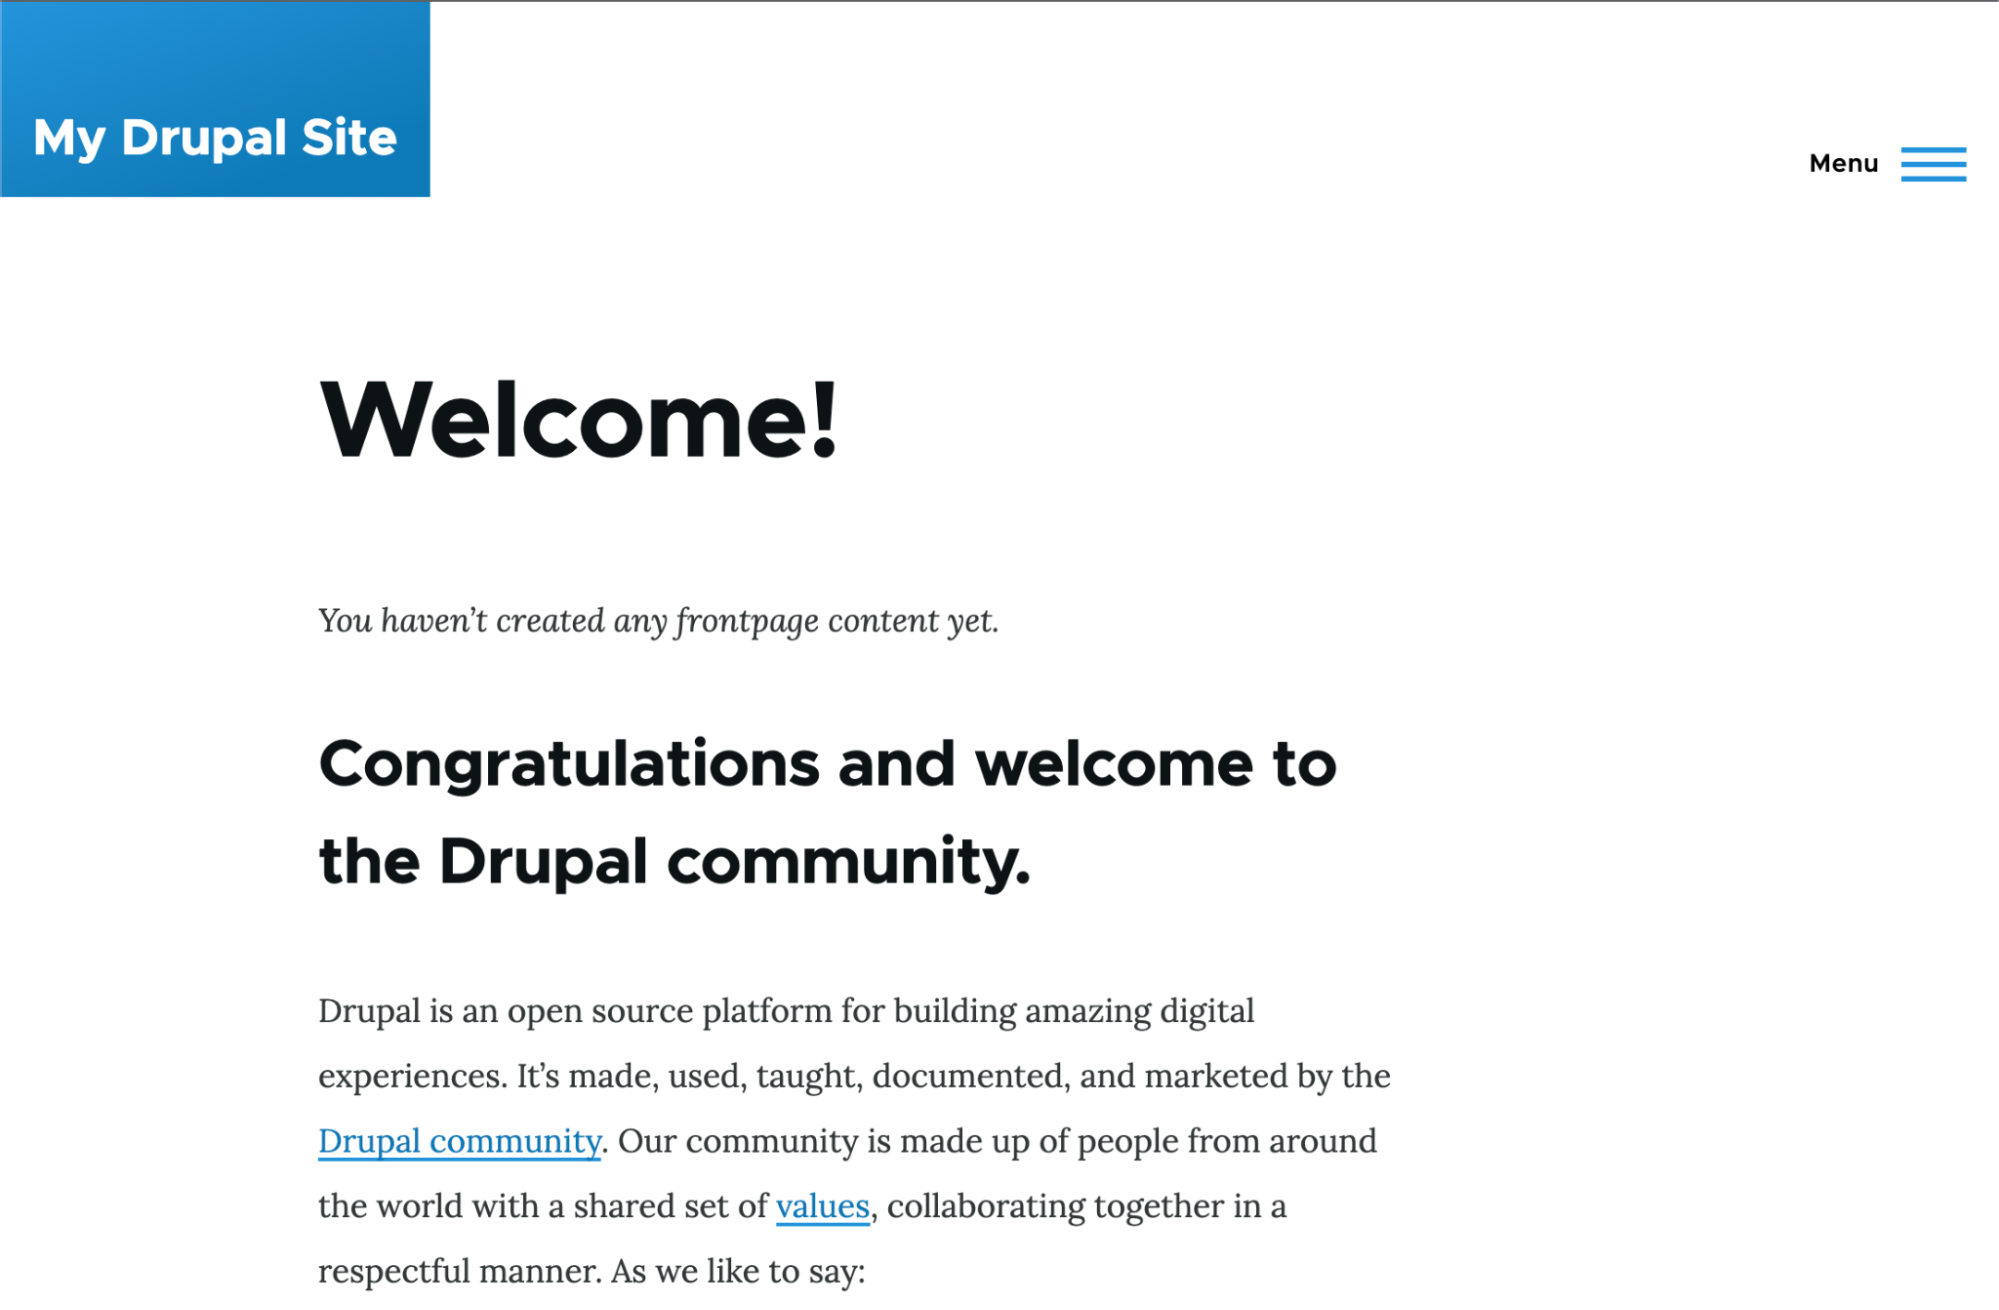
You should see your new Drupal site after you finish the installation:

Go back to the Cloud IDE terminal and push the changes to the repo:
git add -A
git commit -m "New site."
git push origin new-site
If you receive the following error:
fatal: 'origin' does not appear to be a git repository
fatal: Could not read from remote repository
Execute the following git command to push the current branch and set the remote as upstream:
git push --set-upstream origin new-site
Push the database to the dev environment:
acli push:database
My Cloud IDE:~/project (new-site) $ acli push:database

Using Cloud Application Leonardo Signorelli Employee Free

 Choose a Cloud Platform environment [dev, dev (vcs: tags/leo-1.1.0)]:
  [0] dev, dev (vcs: tags/leo-1.1.0)
  [1] Prod Backup, ode1 (vcs: tags/leo-1.1.0)
  [2] test, test (vcs: tags/leo-1.1.0)
 > 0

 Overwrite the eelsignorelli database on dev with a copy of the database from the current machine? (yes/no) [yes]:

 > yes

    ✔ Creating local database dump
    ✔ Uploading database dump to remote machine
    ✔ Importing database dump into MySQL on remote machine

My Cloud IDE:~/project (new-site) $
Push the files to the dev environment:
acli push:files
My Cloud IDE:~/project (new-site) $ acli push:files

Using Cloud Application Leonardo Signorelli Employee Free

 Choose a Cloud Platform environment [dev, dev (vcs: tags/leo-1.1.0)]:
  [0] dev, dev (vcs: tags/leo-1.1.0)
  [1] Prod Backup, ode1 (vcs: tags/leo-1.1.0)
  [2] test, test (vcs: tags/leo-1.1.0)
 > 0

 Overwrite the public files directory on dev with a copy of the files from the current machine? (yes/no) [yes]:

 > yes

    ✔ Pushing public files directory to remote machine

My Cloud IDE:~/project (new-site) $
Login to your Cloud Platform, go to the environments page and click the Dev environment’s “Switch code” button:

Select the “new-site” codebase and click the “Continue” button:

Click the “Switch” button:

After the code switch finishes, checkout your new site currently hosted on your Dev environment:

Your new site:
Useful Information:
Getting started with Cloud IDE
https://docs.acquia.com/ide/start/
Managing databases in Cloud IDE
https://docs.acquia.com/ide/database/
Acquia CLI commands
https://docs.acquia.com/acquia-cli/commands/